Show Related Categories
- Showers & Bathtubs
Shower Bases & Pans
- Bathtubs
- Shower Stalls & Enclosures
- Shower Walls & Surrounds
- Fast Delivery
to:
Filter By Overall Dimensions
Popular Width
Overall Height (inches)
Minimum
Maximum
Overall Width (inches)
Minimum
Maximum
Overall Depth (inches)
Minimum
Maximum
Filter By Drain Placement
Filter By Choose your Base Shape
Filter By Color
Filter By Material
Filter By Features
Features
Filter By Customer Rating
Filter By Price Per Item
Minimum
Maximum
Filter By Availability
Filter By Brand
Search: Brand
Kohler
DreamLine
JACUZZI®
WoodBridge
Ove Decors
Swiss Madison
American Standard
FlexStone
Transolid
Filter By Whats Included
Shower Bases & Pans
1,644 Items
Recommended
Sort By
3 Colors
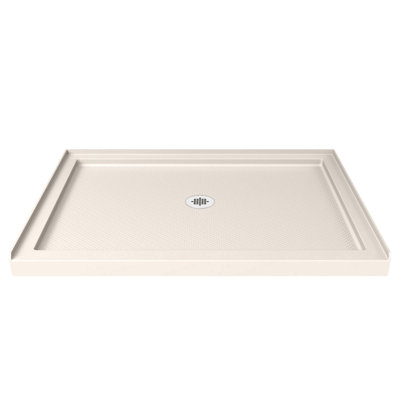
SlimLine 42" x 32" Single Threshold Shower Base
By DreamLine
White
Rated 4.6 out of 5 stars.198 total votes
$399.99
FREE Fast Delivery
Get it by Fri, Jul 11

$869.99
FREE Fast Delivery
Get it by Fri, Jul 11

2 Colors
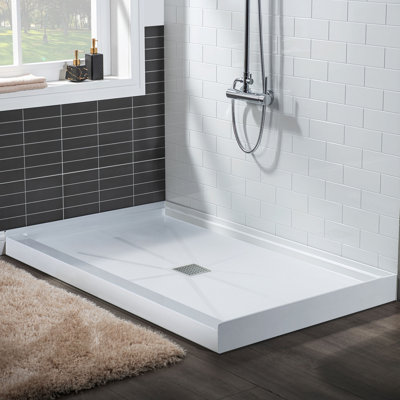
59/60" W x 35.4" D Solid Sufrace Shower Base, Non-Slip, Low-Profile, Curbless, Wheelchair Accessible
By WoodBridge
Black, Left;Right
Rated 4.7 out of 5 stars.82 total votes
$416.97 was$499.00
FREE Fast Delivery
Get it by Fri, Jul 11
5 Colors
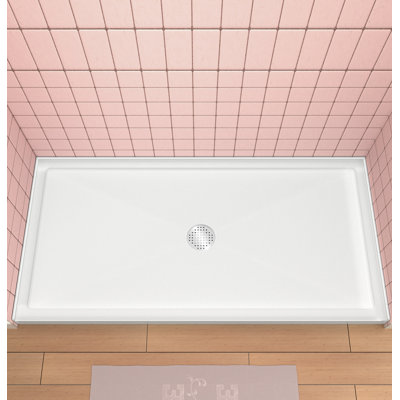
48" W x 36" Solid Surface Single Threshold Shower Pan Base with Drain Assembly & Drain Cover Included, Non-Slip
By WoodBridge
Brushed Nickel, Center
Rated 4.6 out of 5 stars.83 total votes
$321.77 was$499.00
Open Box: $258.93
FREE Fast Delivery
Get it by Fri, Jul 11

2 Colors
59/60" W x 31.5" D Solid Surface Shower Base, Non-Slip, Low-Profile, Curbless, Wheelchair Accessible
By WoodBridge
Black, Left;Right
Rated 4.7 out of 5 stars.70 total votes
$375.10 was$489.00
FREE Fast Delivery
Get it by Fri, Jul 11
$509.99 was$539.99
FREE Fast Delivery
Get it by Fri, Jul 11