How to Install Crown Molding in Your Home
Follow these steps to add flair to your space.
Looking for a budget-friendly way to add value and visual interest to your home? Crown molding could be just the solution you seek. This decorative architectural element is a great way to add depth and character to a room, accenting the style of your space.
Read on to discover more about this home improvement piece and learn how to install crown molding in your home.
What Is Crown Molding?
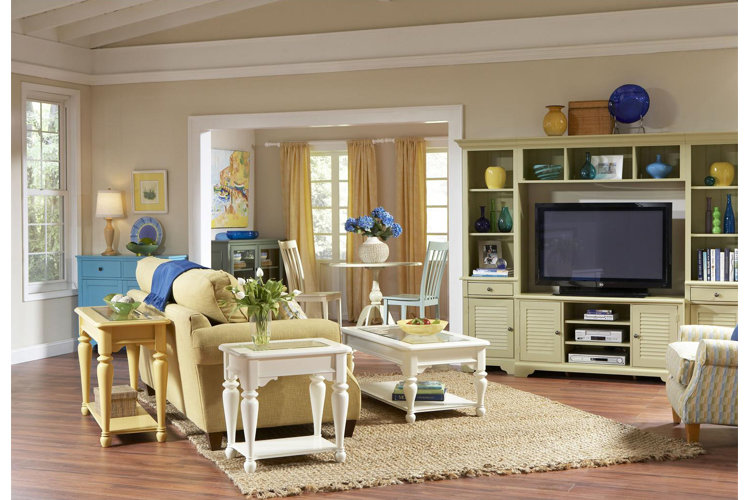
“Molding" (aka “moulding") is a catchall term used for any type of trim inside a home. Crown molding is horizontal trim that's most often used to separate walls from the ceiling, though it can also cap interior doors, columns, and cabinets. This type of trim is only used at the top of a room, which is why it's called a “crown."
Rather than lying flat, crown molding is typically contoured to fit at a 45-degree angle between the wall and ceiling, though some crown molding is angled at 52 degrees from the wall surface and 38 degrees from the ceiling surface.
Wondering if you should install crown molding in your home? Take a look at these key benefits:
- It offers a fancy touch at a low cost.
- It helps separate the ceiling color from the wall color.
- It can disguise minor wall or ceiling issues at the junction between the two.
- It makes the ceiling feel higher.
- It can bring out the faded grandeur of an older home.
Types of Crown Molding

Crown molding is available in a variety of materials, including urethane, wood, metal, medium-density fiberboard (MDF), and fiberglass. Urethane is a particularly popular material for crown molding, as it's typically pre-primed and ready to be painted.
Whichever material you choose, look for crown molding in a style that complements your home decor.
Ready to get started? Follow these step-by-step instructions to install crown molding in your home. Note that crown molding installation requires intermediate to advanced skills, so if you don't feel confident taking the DIY route, call a professional carpenter or contractor to ensure a high-quality installation.
1. Gather Your Supplies
Here's a handy list of the tools, equipment, and materials you'll need for this job:
- Tape measure
- Pencil
- Stud finder
- Safety goggles & earplugs
- Power miter saw & table
- Crown molding
- Two 6-foot stepladders
- Paint primer
- Nail gun & nails
- Caulk gun & caulk
- Painter's tape
- Paintbrush
- Glossy trim paint
In addition to these supplies, grab a friend to help you – installing crown molding is not a solo job.
2. Measure the Room
Use a tape measure to determine the length of each wall in the room, and then use those calculations to figure out how much crown molding to buy. Crown molding is typically available in 8-foot and 12-foot pieces, and it's best to use one long piece whenever possible rather than joining pieces together.
Example: If your room has two 10-foot walls and two 15-foot walls, you can purchase the following:
- Two 8-foot pieces to cover the first 15-foot wall (8 x 2 = 16 feet)
- Two 8-foot pieces to cover the second 15-foot wall (8 x 2 = 16 feet)
- One 12-foot piece to cover the first 10-foot wall (12 feet)
- One 12-foot piece to cover the second 10-foot wall (12 feet)
- Total: 16 feet + 16 feet + 12 feet + 12 feet = 56 feet
Tip!
Buy 25% extra crown molding to account for practice cuts and waste.
Example: 56 feet x 1.25 = 70 feet
3. Mark the Wall Studs
Use a stud finder and pencil to locate and mark each wall stud a few inches below the ceiling. You will use these marks as a guide when you nail your crown molding in place.
4. Cut the Corners of the Crown Molding
There are two crown-molding corner cuts you'll be making:
Inside corner cut: This is for pieces that will meet at inside corners. Inside corners have a 45-degree concave angle that points inward (the bottom edge of the crown molding is long and the top edge is short).
Outside corner cut:This is for pieces that will wrap around an outside corner. Outside corners have a 45-degree convex angle that points outward (the bottom edge of the crown molding is short and the top edge is long).
Use a power miter saw to make precise cuts in your crown molding, and be sure to wear safety goggles and earplugs to protect your eyes and ears.
For both inside and outside corner cuts, follow these steps:
- Place the crown molding piece upside down on your miter saw table, with the ceiling side on the bottom and the wall side on top.
- Set the crown molding piece against the saw and make a line on the table with a pencil to help you make consistent cuts from piece to piece.
- Position the crown molding at a 45-degree angle as you cut it.
- For the left side of the corner, rotate the saw blade 45 degrees to the right. Discard the left side of the cut and save the right side.
- For the right side of the corner, rotate the saw blade 45 degrees to the left. Discard the right side of the cut and save the left side.
Tip!
If you're having a hard time cutting inside or outside corners for your crown molding, try using corner blocks instead. A corner block is a decorative piece of crown molding with squared ends that you can easily attach to inside and outside corners. This way, you can make simple 90-degree cuts on your crown molding pieces instead of 45-degree cuts.
5. Cut the Middle of the Crown Molding
If your crown molding piece doesn't reach the full length of your wall, you'll need to fit two pieces together with a scarf joint. (For example, you can use two 8-foot pieces to cover a 15-foot wall.)
Scarf joint:This is a special type of cut that's used to hide the place where two pieces of crown molding meet on a long wall (the cut will angle in the same direction on both the left and right sides of a scarf joint).
Follow these steps to make a scarf joint:
- Place the crown molding piece right side up on your saw.
- Keep the swiveling part of your saw table centered.
- For the first piece, rotate the saw blade 45 degrees to the left. Discard the right side of the cut and save the left side.
- For the second piece, rotate the saw blade 45 degrees to the right. Discard the left side of the cut and save the right side.
- The two pieces (left and right) should fit together perfectly.
6. Prime the Wood
If you're using crown molding that has not been pre-primed – like wood crown molding – you'll want to prime it now. Let the primer dry for at least an hour before you install the crown molding.
7. Nail the Crown Molding in Place
Now it's time to put it all together! Here's how:
- Climb a stepladder and hold the crown molding upright.
- Have a friend climb a second stepladder to help you hold any long pieces.
- Starting at the center of the wall, position the crown molding in place to form a 45-degree angle against the wall and ceiling.
- Use a nail gun to secure the crown molding into the wall studs or the top plate of the wall.
- Fit scarf joints as tightly together as possible before nailing them into the wall studs.
8. Caulk the Gaps
If you see any gaps between the pieces of crown molding or between the crown molding and the ceiling, use a caulk gun to fill the spaces with a small bead of caulk. Smooth the caulk with a wet finger or a damp rag. Do the same thing for any visible nail holes in the crown molding.
Tip!
Caulk won't help much on the outside corners, so try to get a snug fit between crown molding pieces before nailing them to the wall.
9. Paint the Crown Molding
Now that you've installed your crown molding, it's time to paint it. It's best to do this after caulking the gaps and holes so you won't see any blemishes in the finished product.
Just follow these simple steps:
- Apply painter's tape along the top of the crown molding (where it meets the ceiling) and the bottom of the crown molding (where it meets the wall).
- Paint the molding from corner to corner, in one direction, for a smooth finish.
- After the paint dries, apply a second coat if needed.
Now that you know how to install crown molding in your home, you can shop for the trim that's just right for your space.
Article by Robyn Tellefsen
