Dog Door Installation: A How-To Guide
Easier than teaching your dog to roll over.
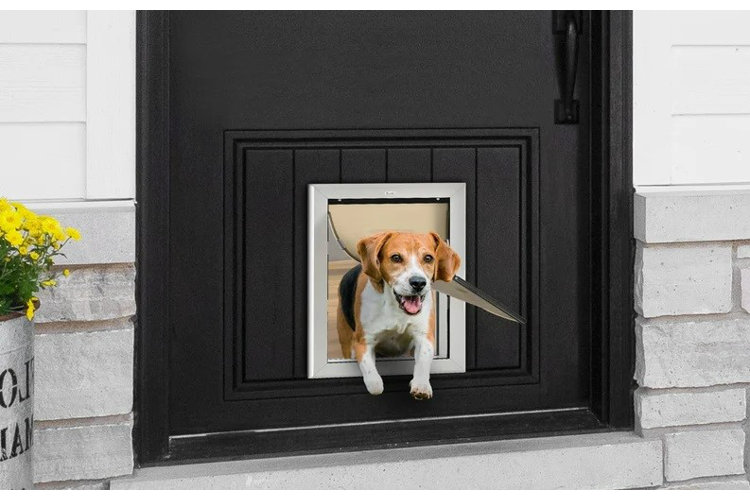
So you bought the house with the big, fenced in yard, but now what? Give your dog the freedom to enjoy it with the convenience of a dog door. Read on for our guide to a quick doggy door installation.
Tools You'll Need:
- Tape Measure
- Pencil
- Drill
- Handsaw
- Screws (Supplied)
- Caulk
1. Choose a Dog Door
Before installing a pet door, you need to measure your pet to ensure you've got the right one for your home. Here are some things to consider when choosing a dog door.
Measure your pet: The dog door needs to be large enough to fit your dog by height and width with a little extra wiggle room on the sides for their comfort.
Check the size of the door: The measurement of the opening on the door matters more than the total size of the door. Your pet door should be at least 2 inches higher and wider than your dog's measurements. For specific sizes, you can shop dog doors by dimensions on our website.
Find a good spot: Make sure there's enough space surrounding the dog door so that your dog has enough room to come in and out. For a door mount, try to leave a few inches on either side of the door inside and outside. If your mount is going into the wall, ensure that nothing gets placed in front of or directly underneath the mount so the dog can still move freely.
2. Mark the Placements
Using your pencil, trace the outline of the pet door onto the door itself. Draw a mark (a circle or x) for essential screws. Don't forget to mark the inside corners of the dog door opening – this is where you'll saw through.
3. Drill Your Holes
With a 1/2 inch drill bit, use your electric drill to make a hole at the center point of each mark you made in the previous step. Drill holes for the screws and other mounting hardware that is included with the dog door.
4. Cut the Opening
Make the opening of the door with your hand saw. Starting in one corner, cut along the outline you drew in pencil. Install the outer frame of the door without the flap on the outside of the house so that it's flush against the door.
5. Install the Frame
Inside, insert the interior frame of the dog door facing the interior of your house. The inside frame is the one with the flap. Screw in supplied screws halfway for all screws, then go around and finish them. This ensures one screw isn't tighter than the rest and helps keep the frame straight.
6. Seal the Frame in the Door
Use your caulk to seal the inner part of the outer frame. This will help keep outside air from slipping into your home and ensures the frame is locked in place.
Now that you're an expert on how to install a doggy door, explore our other pet door options including window mount placements and doors for cats.
