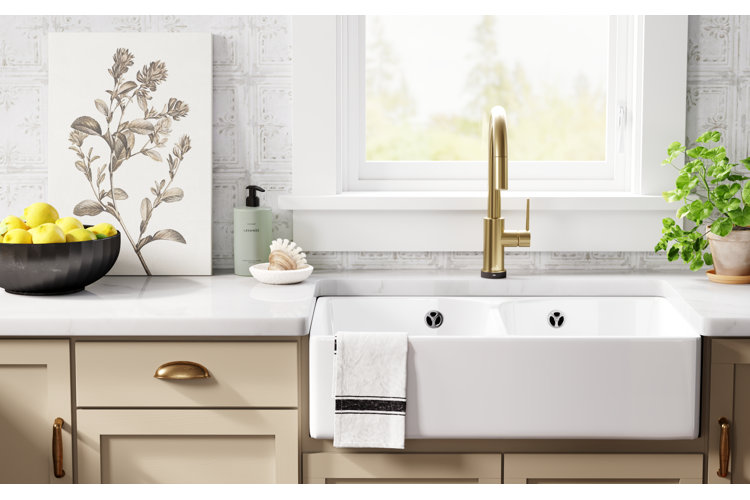
How to Replace a Kitchen Faucet
You can do it!
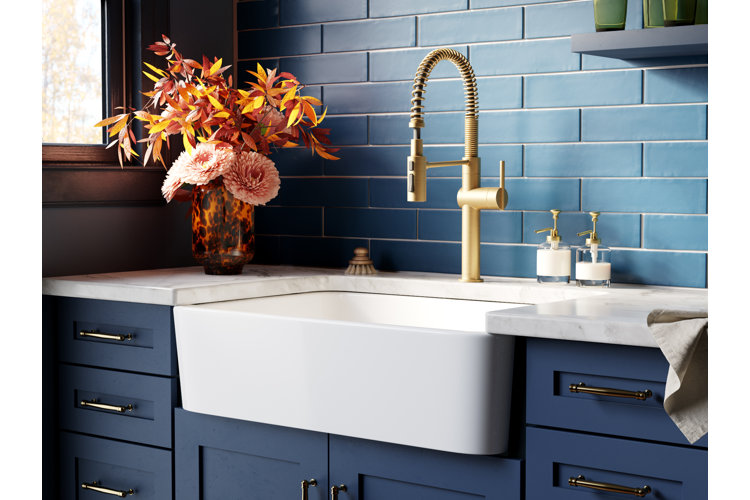
Whether you’re replacing an old kitchen faucet or starting from scratch, the installation process doesn’t have to be daunting. Replacing a deck-mounted faucet can be done on your own without much hassle. Read on for our step-by-step instructions on how to replace a kitchen faucet.
Tip!
Before you choose a new faucet, consider this: It is always easiest to pick a faucet with the same mounting type, configuration, and amount of installation holes as your current faucet. To learn more about choosing the best faucet for a smooth installation, read our "Kitchen Faucet Buying Guide" and "How to Measure for a New Kitchen Faucet".
How to Replace a Kitchen Faucet
Take confusion out of the equation by following these comprehensive steps.
What You’ll Need
- Basin wrench
- Adjustable wrench
- Screwdriver
- Small bucket
- Caulk or plumber’s putty
- Plumber’s tape
- At least two people
1. Turn Off & Disconnect Water Supply
Turn off your water supply using the shutoff valves underneath the sink. To bleed the water pressure off the lines, open your sink faucet and let the water run until it turns to a slow drip. Use an adjustable wrench to disconnect the water supply tubes, keeping a bucket on hand to catch any excess water. If you have a garbage disposal, turn off the power and unplug it.
2. Remove the Old Faucet
Have someone hold the faucet in place from above while you use a basin wrench underneath to loosen and remove the fastening nuts. Lift out the sprayer hose. Remove your faucet and clean the sink surface.
3. Assemble the New Faucet
Use the manufacturer’s instructions to assemble or connect any components of your new faucet.
4. Install the Gaskets & Position the Faucet
To create a seal between the faucet and the sink, place the included gaskets over the mounting holes. If gaskets are not included, use caulk or plumber's putty to create a snake-like ring around the hole. If your single-hole faucet has a deck plate or escutcheon (a cover that hides the extra faucet holes in your countertop), set it in place. Then feed the faucet into the proper hole or holes, depending on the faucet's design.
5. Secure the New Faucet & Attachments
Under the sink, install the washers and nuts to secure the faucet in place. Use a wrench or screwdriver to tighten. Wipe away any excess caulk or plumber’s putty. For pull-down faucets, thread the faucet line through the weight provided.
6. Connect the Plumbing
Connect the in-wall water supply lines to the water lines in the new faucet, wrapping plumber’s tape around the threaded sections to create a watertight seal. Also connect the cold and hot water supply lines with the corresponding handles or lines.
7. Test It Out
Turn on the water supply and run the water. Check for any signs of leaks and adjust accordingly.
8. Flush Out Debris
Remove the aerator from the faucet and turn the water on. The aerator can be found in the nozzle of the faucet. Typically, you must remove the tip and take out the mesh liner, which is the aerator. Let the water run for a few minutes to clear the lines of debris. Then turn off the faucet and replace the aerator.
