3 Ways to Decorate with Easter Eggs
Adorn your home with colorful eggs this Easter. Our editors share three fun crafts.
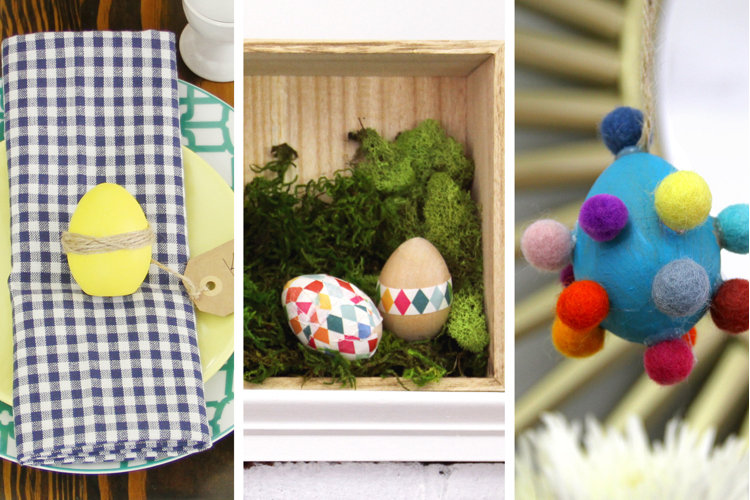
When spring rolls around, decorating Easter eggs with the family is a must. But usually, these lovingly-decorated eggs are DIYed then set aside. This year, get inspired to showcase your creations throughout your home with our fun and cheerful ideas.
Though you can use real eggs in all of these crafts, we used faux eggs (ceramic, papier-mâché, and wood) so they'll last for years to come. If you do use real eggs, be sure to remove the yolks before putting your works of art on display.
On Your Easter Table
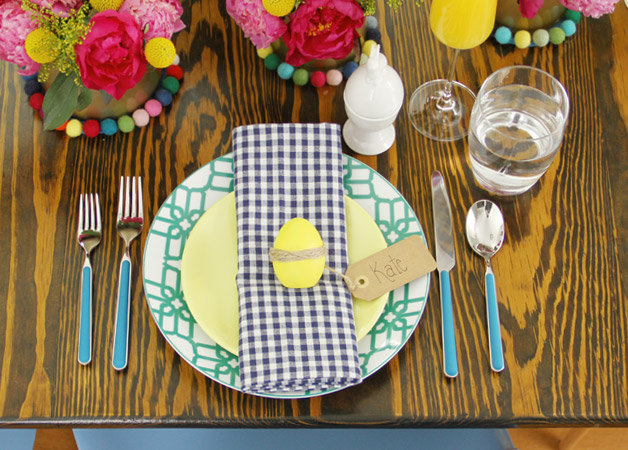
Painted ceramic eggs are used as place cards on this festive Easter table. We painted our eggs a solid hue because our place setting was already pattern-filled. You could also try stripes, polka dots, and flowers. Read on to get the easy steps for this DIY.
Here's What You'll Need:
- Ceramic Eggs
- Paint
- Paint brush
- Stencils (optional)
- Twine or string
- Cardstock tag
- Paint the ceramic eggs with your chosen color. Wait until they've dried to wrap twine or string around them. Tie name tag onto the egg.
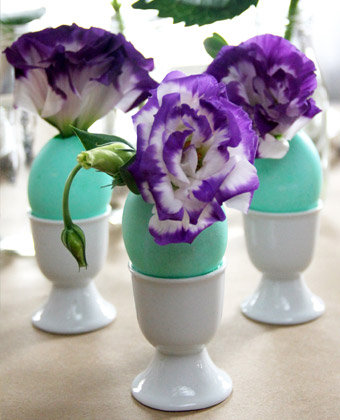
Tip! You can also use hollowed out eggs as delicate vases on your table. Read our 3 Creative Egg Cup Ideas for Easter for more inspiration!
In the Entryway
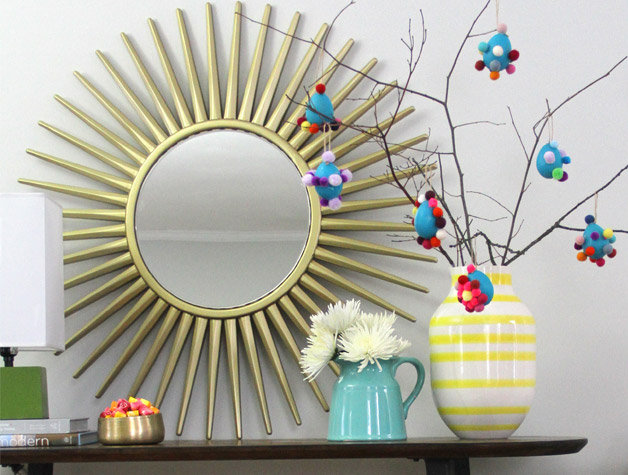
Bring spring blooms indoors with a DIY egg tree. To begin, gather sticks from your yard and arrange in a large, bright vase. If the sticks are beginning to show blossoms, all the better! Then hang pom pom-adorned eggs from the branches. Learn how to recreate our Easter tree in your home below.
What You'll Need:
- Lightweight papier-mâché eggs
- Small pom poms or felt balls
- Glue gun
- Hot glue sticks
- Paint
- Paintbrush
- Twine or string
Begin by painting the papier-mâché eggs (using a lightweight material is key here, so the eggs don't pull down the branches) and letting them dry. Then, with the glue gun, adhere the pom poms to the eggs.
Finally, glue a loop of twine to the top of each egg. This creates a string by which to hang the egg. This egg tree would also look beautiful on a mantel, if you have tall ceilings.
Speaking of mantels... If this one doesn't shout "Spring has sprung!" we don't know what does. The playful pom pom garlands might catch your eye first, but the darling Easter egg terrariums will steal your attention. Below our editors break down the easy steps to making your own Easter terrariums.
What You'll Need:
- Patterned paper
- Mod Podge
- Sponge brush
- Wood eggs
- Wood boxes
- Moss
- Glue gun
- Hot glue sticks
Cut the patterned paper into strips. With the Mod Podge and sponge brush, adhere the paper strips to the wood eggs.
You can cover the egg completely, or create a striped pattern with the strips. Smooth out air bubbles as you go. If you are using thick paper, soak it in the Mod Podge for 30 seconds before applying to the eggs.
Note: If you have an open terrarium (like our wooden boxes), you'll want to glue the moss and eggs in so they don't roll out.
While the eggs are drying, arrange moss in the terrariums. We used two colors of moss to add depth. Glue down the moss if necessary, using a hot glue gun. Next, nestle the eggs into the moss and glue if necessary.
