Urethane crown moulding has become an increasingly popular choice for homeowners and builders alike due to its myriad benefits. Unlike wood, which can warp, crack, or rot over time, urethane is highly resistant to moisture and temperature changes. This makes it an ideal choice for areas prone to humidity or extreme weather conditions. Whether it’s installed in a bathroom, kitchen, or basement, urethane crown moulding maintains its shape and integrity, ensuring a long-lasting and reliable finish. Another notable advantage is its lightweight nature. Its lightweight characteristic simplifies handling and installation, making urethane crown moulding a popular choice for DIY projects and professional installations alike. Maintenance is another area where urethane crown moulding excels. Wood moulding requires regular upkeep, including painting, sealing, and potential repairs due to damage from pests or moisture. Urethane, on the other hand, does not attract pests, does not absorb water, and is resistant to cracking and chipping. A simple wipe with a damp cloth is usually sufficient to keep it looking new, making it an attractive option for those who prefer a low-effort maintenance routine.
I wanted to leave a thorough review since I couldn’t find many detailed ones about this product online. We are incredibly happy with how this crown molding turned out—but it definitely took some patience to get here.
We originally ordered it from a different site, only to find out a month later that it was out of stock and our order was canceled. Hoping for better luck, we found a few pieces available on Wayfair and decided to call the manufacturer directly—Ekena Millwork—to get the full story.
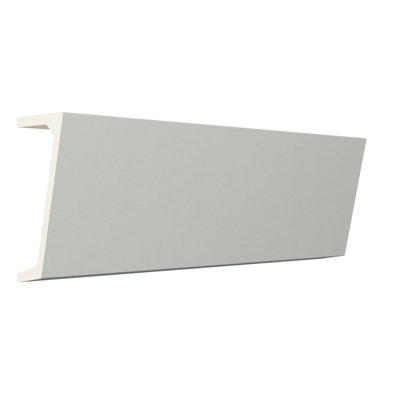
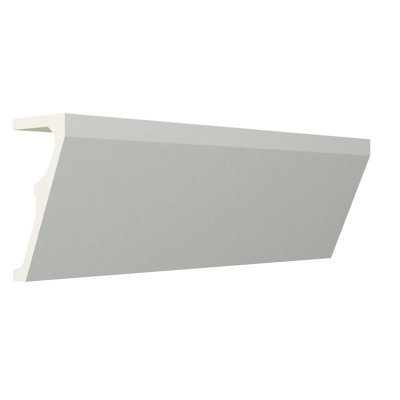
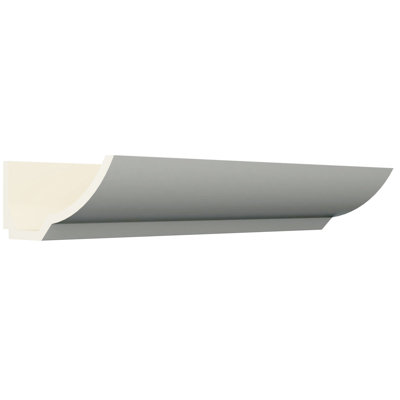
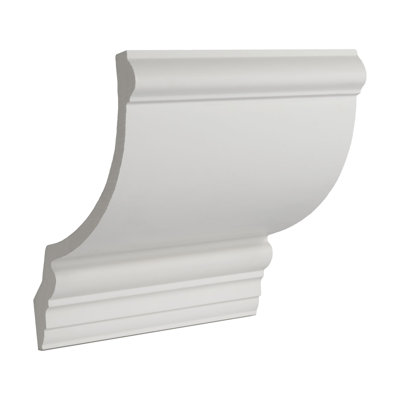
They were wonderful to work with and explained the molding was on backorder but expected to be available in about six weeks. While waiting was tough (we almost bought traditional wood molding from the hardware store instead), we really wanted this specific style because it’s made of thick foam. That makes it incredibly lightweight and easy to work with, especially for a project like ours where we planned to add lighting.
We were initially confused about how the foam would behave—how to paint it, attach it, etc.—but the customer service rep assured us it could be treated just like drywall. It responds well to paint, grout, and joint compound.
We ended up ordering 12 pieces. While the rep recommended using glue to install it, we opted for metal mounting plates attached to wall studs instead, since we were adding strip lights and wanted the option to remove or modify it without damaging the wall.
Here’s how we did it:
1. Painted each piece of molding black.
2. Drilled holes for our lights.
3. Found the wall studs and attached the molding section by section using plates on the inside.
4. Because the molding has a gap at the top (perfect for hidden lighting), we were able to use a long drill bit and a headlamp to secure everything from above.
5. Once mounted, we applied joint compound to smooth out the gaps, sanding and layering until it looked seamless.
6. Finally, we repainted over the finished molding.
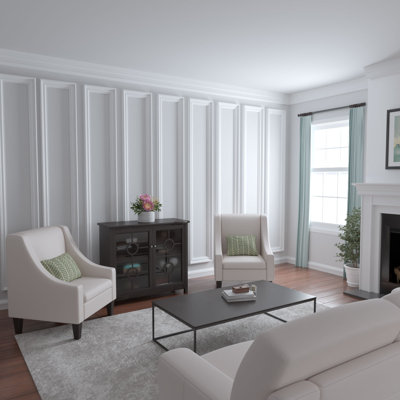
Our ceilings are only 8 feet tall, so the floating design—with a gap for LED lights to shine down—adds dramatic height and ambiance. We initially considered a second strip of lights pointing upward, but on our black walls it looked a bit odd, so we skipped that.
A small tip: you could see the metal plates until we painted them black—they disappear completely now.
From the time we first ordered (in April) to the time of full installation (July 1), it was a bit of a journey—but 100% worth it. The molding looks stunning, the product quality is great, and both Wayfair and Ekena Millwork were helpful throughout.
Highly recommend!. Breen. Alpine, UT. Mon Jun 30 2025