Filter By Color/Finish
Filter By Availability
Filter By Overall Dimensions
Overall Width (inches)
Minimum
Maximum
Overall Height (inches)
Minimum
Maximum
Overall Depth (inches)
Minimum
Maximum
Filter By Price Per Item
Minimum
Maximum
Filter By Material
Filter By Special Offers
Filter By Product Styles
Modern
Retro
Transitional Modern
Industrial
Traditional
Mid-Century Modern
Additional Styles
Filter By Customer Rating
Filter By Wood Species
Filter By Features
Filter By Shelf Material
Filter By Type
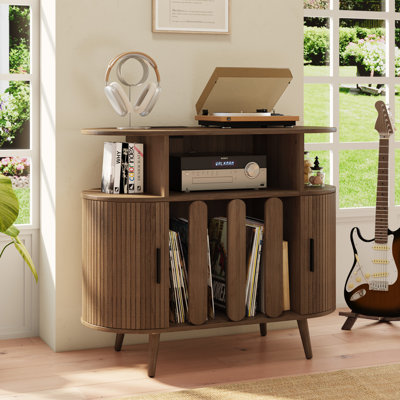
Audio Cabinets
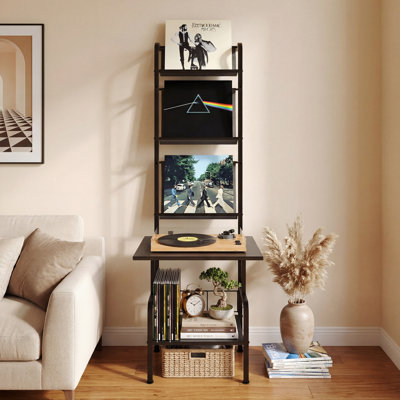
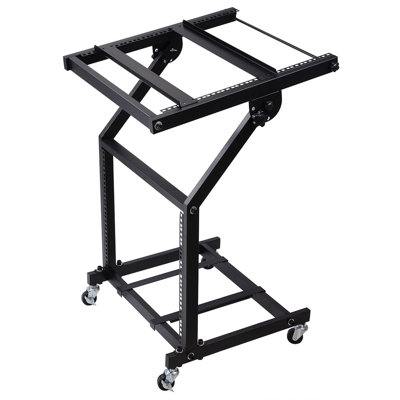
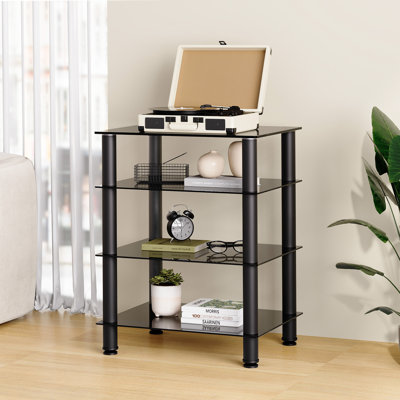
Audio Racks
Filter By Wood Tone


Filter By Trending
Filter By Number Of Shelves
Filter By Assembly
Filter By Brand
Search: Brand