Wallpapering 101: How to Install Wallpaper
Cover your walls with confidence.

Wallpaper is a stylish way to add color, pattern, and personality to any space. Installing it may feel tricky at first, but with a little guidance, it’s a simple task. Unsure where to begin? This guide walks you through every step of the process, so you can transform your walls with ease.
In This Guide
Before You Start
How to Prepare Your Walls
How to Hang Wallpaper
Before You Start
For a smooth wallpaper installation from start to finish, it’s important to gather the right tools to understand the process ahead.
Tools & Supplies
From prep to the final trim, these tools and materials will make the wallpapering process easier and more efficient:
For Prep Work:
- Spackle & spackle knife
- Sandpaper
- Multi-surface soap
- Sponge or rag
- Bucket of water
- Wallpaper primer
- Sponge brush or roller
For Wallpapering:
- Measuring tape
- Level or plumb bob
- Straightedge
- Pencil
- Scissors
- Utility knife
- Wide putty knife
- Long table or flat surface
- Ladder
Wallpaper Terms to Know
Plumb: A term that means perfectly vertical, “plumb” is the counterpart to "level,” ensuring your wallpaper hangs straight from ceiling to floor.
Booking: Booking is a step used with pre-pasted wallpaper. After wetting the adhesive side, the strip is gently folded paste-side in to keep the glue from drying out. This allows the adhesive to become tacky, not dry, for better adhesion. Be sure to follow your wallpaper manufacturer's specific soaking and booking instructions.
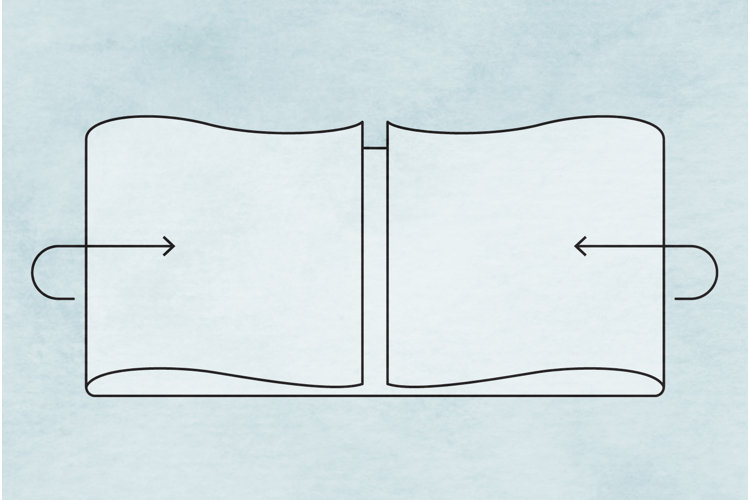
Butting: Displayed in the image above, butting is the process of placing wallpaper strips edge-to-edge without overlapping to create seamless joints.
How to Prepare Your Walls for Wallpapering
Taking time to properly prepare your walls ensures a smoother wallpaper application and a lasting finish.
Step 1: Clear Your Space
Begin by removing any artwork, wall plates, outlet covers, and furniture from the area where you’ll be installing wallpaper. If your wallpaper requires water or paste for application, turn off the power to the room as a safety precaution.
Step 2: Repair Wall Damage
Inspect your walls for dents, scratches, or cracks. Even small imperfections can affect how your wallpaper lays and adheres. Use a spackle knife to fill in any damaged areas with spackle. Allow the wall to dry completely, ensuring that the patch is flush with the wall surface. If necessary, apply a second layer for especially deep holes.
Step 3: Smooth the Surface
After any repairs are dry, lightly sand the entire wall using fine-grit sandpaper. Focus on patched or uneven areas to create a flat, consistent surface. Then, wipe down the wall with a dry cloth to remove any dust to prevent it from interfering with adhesion later on.
Step 4: Clean the Walls
Using a sponge or soft rag, wash your walls with a mixture of water and multipurpose soap. This removes residual oils, dust, or grime that could keep wallpaper from sticking. Rinse with clean water if needed, and let the wall completely dry before proceeding.
Step 5: Prime the Walls
Using a sponge brush or roller, apply an even coat of wallpaper primer to your walls. Primer helps the wallpaper securely grip the surface without over-adhering, making for easy removal later and keeping paint or old colors from bleeding through. If your walls were recently painted, allow at least three weeks for the paint to fully cure before priming and wallpapering.
How to Hang Wallpaper
Now that your walls are clean, dry, and primed, it’s time to hang your wallpaper. Keep reading for a step-by-step breakdown of the process.
Step 1: Measure & Mark a Plumb Line
Use a level or plumb bob to draw a vertical line from ceiling to floor. This line will serve as your guide for aligning the first strip of wallpaper. Start in a low-visibility area, like behind a door or large piece of furniture, so that any minor errors are less noticeable.
Step 2: Calculate How Many Strips You Need
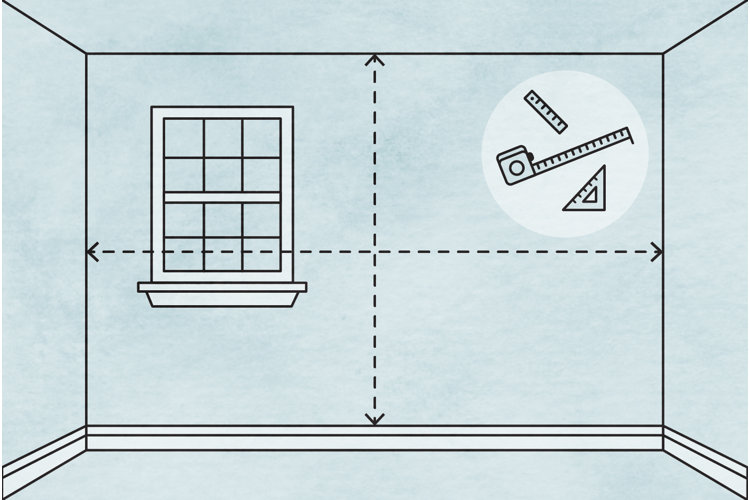
To calculate how many strips of wallpaper you’ll need, divide the total width of your wall by the width of one wallpaper roll. This calculation gives you the number of vertical strips needed to cover the wall from end to end. Round up to the nearest whole number so that your wallpaper supply doesn’t run short, especially if you’re working with a repeating pattern.
Tip!
Check out our guide How to Measure for Wallpaper for helpful tips.
Step 3: Cut Your First Strip
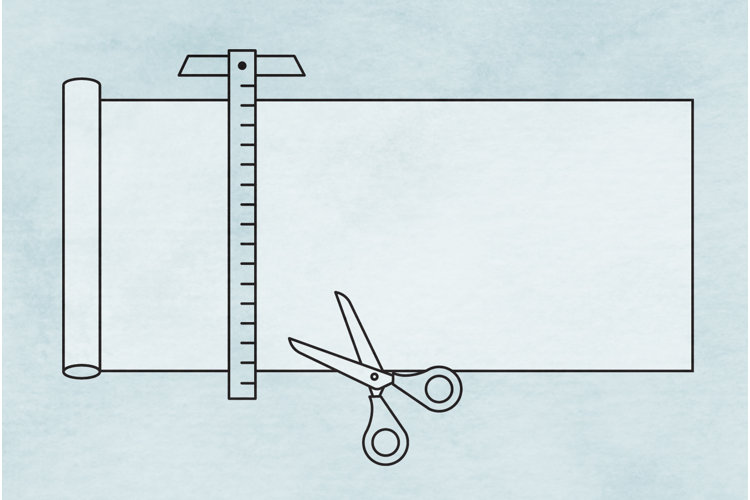
Start by measuring the height of your wall, then add about 4" – 2" at both the top and the bottom – to give yourself room for alignment and trimming. Next, unroll your wallpaper face-down on a flat surface. If your wallpaper is non-patterned, simply measure the full length (wall height + 4"), mark the cut line, and cut your strip. If your wallpaper is patterned, first choose where you want the design to start at the ceiling. From that point, measure downward, mark your cut line, and cut the strip to size. Finally, mark the top edge on the back of the strip to keep it correctly oriented during installation.
Step 4: Cut Remaining Strips
Use your first strip as a template to cut the remaining full-length strips. If your wallpaper has a repeating pattern, lay each new strip beside the first to match the design before cutting. Hold each strip against the wall before pasting to align the pattern exactly where you want it.
Step 5: Prepare the Wallpaper
How you prepare your wallpaper depends on its type:
- Pre-Pasted Wallpaper: Following manufacturer instructions, activate the adhesive by soaking the wallpaper in water. Then, book the strip by gently folding the glued sides together (paste-to-paste) without creasing. Let it rest for the recommended time to allow the adhesive to become tacky.
- Non-Pasted Wallpaper: Apply an even layer of wallpaper paste to the back of the strip using a roller. Book the paper if recommended by your paste instructions.
- Peel-and-Stick Wallpaper: No prep is required for peel-and-stick wallpaper. Simply peel off the backing as you apply it to the wall.
Line one edge of your strip up with the plumb line you drew earlier. Leave a small amount of excess paper at the ceiling. Using a putty knife, gently press the paper into the top seam where the wall meets the ceiling. Smooth the wallpaper downward from the center outward, using your hand or putty knife to eliminate bubbles and wrinkles. If you notice bubbling, carefully lift the paper and reposition it, smoothing it again as you go. For peel-and-stick wallpaper, slowly peel back the liner as you apply the strip, smoothing it as you go to avoid air pockets.
Step 7: Trim the Excess
Once the strip is fully applied, use your putty knife to crease the paper at the top and bottom edges. Then, trim off excess with a utility knife for a clean finish.
Step 8: Wipe Away Excess Adhesive
Go over the strip with a damp sponge to remove any glue that may have seeped out at the edges. Smooth it one last time with your putty knife to make sure your edges are firmly set.
Step 9: Repeat for Remaining Strips
Continue hanging each strip beside the last, aligning the edges so that they butt together without overlapping. If your wallpaper is patterned, be sure to match the design as you go.
Tip!
Here is Everything You Need to Know About Wallpaper Types, from application methods to design patterns.
How to Apply Wallpaper At or Around Corners
Hanging wallpaper at or around corners doesn’t need to be daunting.With a few adjustments, you can achieve a smooth finish. The following tips will help you keep your wallpaper aligned while navigating uneven angles.
Step 1: Measure the Distance to the Corner
To begin, you’ll need to cut a narrow strip of wallpaper that fits between your last full strip and the corner of the wall. Measure the distance from the edge of the last applied strip to the corner in three places: at the top, middle, and bottom of the wall. This process helps account for any unevenness, since corners sometimes aren’t perfectly straight. Use the widest of these three measurements, then add 1/2" to it. This extra width allows the wallpaper to wrap slightly around the corner, improving alignment and preventing visible gaps or lifting at the seam.
Step 2: Cut a Custom Strip
Using the measurement from Step 1, cut a narrow strip of wallpaper to the full height of the wall and the calculated width. If your wallpaper has a pattern, line it up with the previous strip before cutting to ensure a seamless design.
Step 3: Apply & Wrap Into the Corner
Hang the narrow strip just like any other: start at the top, align it with the previous strip, and smooth it down. As you reach the corner, gently press the extra 1/2" of paper around onto the adjacent wall. This helps the wallpaper sit flat, creating a cleaner transition.
Step 4: Start the Next Wall With an Overlap
To continue wallpapering onto the adjacent wall, begin with a full-width strip. Slightly overlap it over the 1/2" that’s already wrapped around the corner, matching the pattern with the previous strip before cutting and applying. This overlapping technique helps ensure a smooth corner with no gaps or misalignments.
How to Apply Wallpaper Around Obstacles
Around Windows & Doors
1. Hang as Normal: Continue applying your wallpaper from the ceiling down, smoothing it as you go.
2. Crease Around the Frame: As you reach the edge of the window or door, gently press the paper into the seams and corners using a putty knife or your fingers.
3. Trim Carefully: Use a utility knife or sharp scissors to trim around the creases. If you’re hitting a corner, like the top of a window, make your initial cut where the wallpaper meets the frame. Then, smooth the remaining paper down the vertical edge, cleanly trimming the excess along the side. Smoothing vertically after the trim helps maintain alignment, reducing potential shifting and bubbling.
Around Outlets & Wall Plates
Before you begin, always be sure to power the room at the breaker box to avoid any risk of electric shock.
1. Apply Over the Area: Instead of pre-cutting the wallpaper, apply it flat over the outlet or plate area as if nothing is there.
2. Mark an X: Feel for the corners of the plate or hole, lightly drawing an X from corner to corner with a pencil to mark the center.
3. Cut and Fold Flaps: Cut along the lines of your X to create four triangular flaps. Be careful not to cut past the obstacle’s edges.
4. Crease and Trim: Gently press the flaps around the obstacle, creasing them against the edges. Use a utility knife or scissors to trim the flaps for a clean fit.
Tip!
Check out these Easy Tips for Removing Wallpaper Glue & Wallpaper for a comprehensive overview of the removal process.
