5 Steps for Testing Hardwood Floor Samples
How to maximize samples to make a confident, well-informed decision.
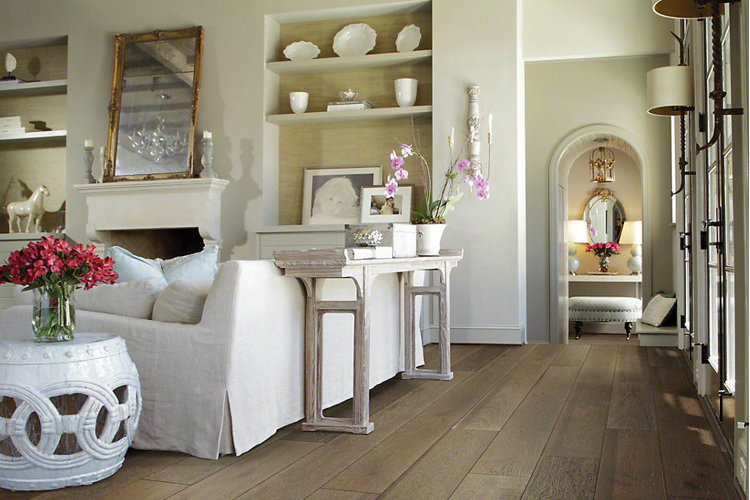
Inspiration abounds when it comes to new floors, but translating an idea into your ideal at-home look requires consideration—and that’s where hardwood flooring samples come in.
As one of the best-kept secrets to style success, samples can help you visualize how each option will look, feel, and perform in your own home. For a long-term investment like new hardwoods, taking the time to properly try out the possibilities is well worth the effort.
Shake the fear of buyer’s remorse and gain confidence in your final decision with our editors’ step-by-step guide on how to put your hardwood flooring samples to the test.
1. Embrace Options at the Onset
Every home is unique, and you never know what type of wood or finish might surprise you once it’s in your own space. Give yourself options: It’s far easier to narrow down your choices once you’ve tested them out than it is to start completely over again.
Hardwood flooring is impressively dynamic, and with the wealth options available, comparison is essential. Small, subtle changes can actually have a big impact once it’s in your space.
Start with a healthy mix of samples that span the styles you’re interested in. Order at least two to three strategically selected options—and try to fight the urge to select more than six to avoid being overwhelmed.
Tip! If you have a very specific look in mind, its okay to approach your samples with that narrowed focus. Just vary each one by a shade or two, or the brand, to see all possible iterations.
2. Bring in the Light
The very first thing to test is how the hardwoods look under all your home’s lighting conditions. Pick a room to place your samples in each day, and then check in at regular intervals. Take note of how their aesthetics evolve over time and with different lighting sources.
Bathe the samples the natural light, then close your window treatments to see how it looks in filtered daylight. In the evening, turn on overhead lights and lamps (together and separately). And think about how and when you use each room: Turn on the TV or ceiling fan, light candles, and simply live as you always do, keeping an eye on each scenario that impacts the samples.
Tip! By trying out all normal scenarios of daily life, you’ll ensure that the look you love when you wake up is just as appealing when you go to bed.
3. Feel for Comfort
Since you’ll be walking and standing daily on your new flooring, it’s also essential to properly try out how each option feels underfoot. A bit of ingenuity and patience goes a long way for this test.
For the most helpful results, incorporate each sample into real-life situations. Grab a flooring option to stand on while you get ready in the morning. Stand on a sample while you prepare a meal. Run your hands over each, and even sit on a sample while reading a book or watching TV.
Try to mimic every situation you’re likely to do once installed. That way, when it comes to making your final decision, you’ll know it’s both the stylish and practical choice.
Tip! Don't forget to swap out shoes for socks and bare feet while you test.
4. Challenge Durability
Flooring has to stand up to some serious demands, so put your samples through the wringer and study how each performs.
Tailor your durability tests to reflect your family’s specific daily wear and tear. Try out any scenario you can imagine occurring in your home, no matter how far-fetched.
Spill juice or wine and immediately clean it up with your favored products. Spill again, but this time, let it sit and come back to address it later. Drop objects like books or keys. If you live in high heels, tread heavily. To mimic moving furniture—or eager paws for families with pets—press down and drag a pointed object.
Tip! To test longevity—and whether indents will appear over time—try weighing down an object with legs or a pair of heels with spare change or baking weights.
5. Make a Confident Decision
You’ve researched and tested your samples, and now it’s time to make a final decision. For some, an obvious winner will have emerged throughout the testing process—trust that.
If you’re still deciding between a final few options after testing, delve into what you learned from each further. Compare and contrast the strengths and weaknesses in the context of which features, be it style or function, matter most to you.
Tip! Still not sold? Don't rush it. Live with your samples a little longer until you find yourself naturally leaning toward one.
