A DIY Guide to Replacing a Closet Door
Simple swaps for a smarter closet.
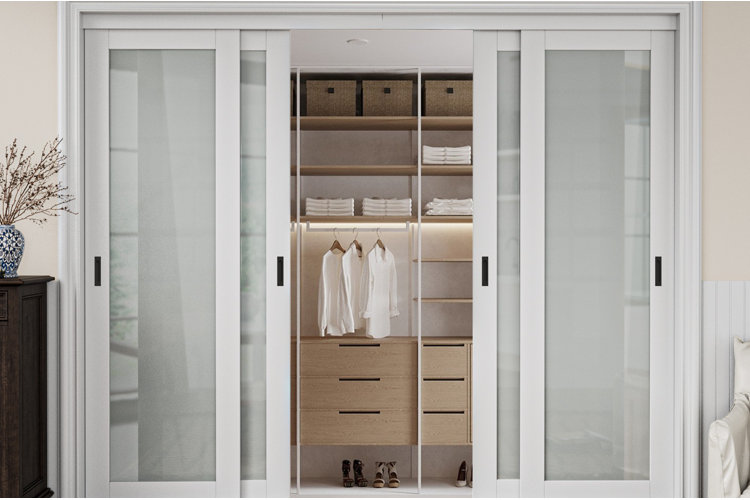
Upgrading your closet doors, whether for function or style, is a small project that makes a big impact. From sliding panels that save floor space to hinged doors that offer a classic look, knowing how to replace a closet door gives you the freedom to refresh your space without a major renovation. Keep reading for a comprehensive overview of everything you need to know.
Tools Needed
These tools apply to all door types:
- Tape measure
- Screwdrivers (flat-head and Phillips)
- Cordless drill
- Hammer
- Pencil
- Floor protection (cardboard or a drop cloth)
You’ll also need door-specific hardware, listed in each section below.
Replacing Sliding Closet Doors
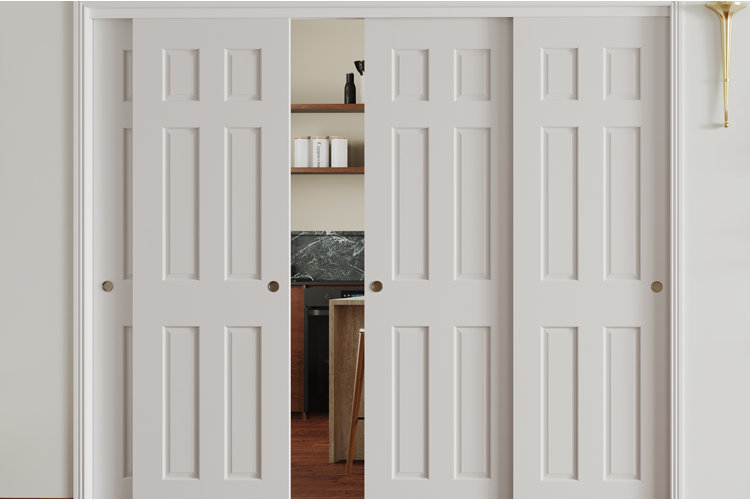
Sliding closet doors are one of the easiest styles to replace, making them a great beginner-friendly upgrade for any room.
What You'll Need
- Screwdriver
- Replacement sliding doors
- Upper and lower tracks (included with door set or purchased separately)
- Hacksaw
- Metal file
- Thin wood strip for carpeted floors (about 1/8 inch thick)
- Screws (typically included)
How to Remove Sliding Doors
- Step 1: Use a screwdriver to loosen the small screws or clips holding the rollers in the upper track. This gives the door enough space to lift out.
- Step 2: Slide the door to the center of the opening. It’s easier to remove when it’s not near the frame edges.
- Step 3: Lift the door straight up toward the upper track, then pull the bottom edge gently toward you to release it from the lower track. The top rollers will drop out once the bottom is free.
- Step 4: Remove the second door the same way.
- Step 5: Unscrew and remove the top and bottom tracks if your new doors come with replacement tracks.
How to Install Sliding Doors
- Step 1: Measure the height and width of the closet opening to confirm the correct door size.
- Step 2: Prepare the new tracks. Cut them to fit the opening using a hacksaw and smooth the edges with a metal file.
- Step 3: Position the upper track inside the top of the door frame. Center it, mark the screw holes with a pencil, then pre-drill and screw it into place.
- Step 4: Install the lower track or door guides on the floor. If you have carpet, place a thin wood strip underneath so the screws can grip securely.
- Step 5: Hang the first door by hooking the top rollers into the upper track. Then, lower the bottom rollers into the lower track until they click or slide into place.
- Step 6: Repeat for the second door.
- Step 7: Adjust the doors using the small screws near the rollers to raise or lower each panel until they slide in smoothly.
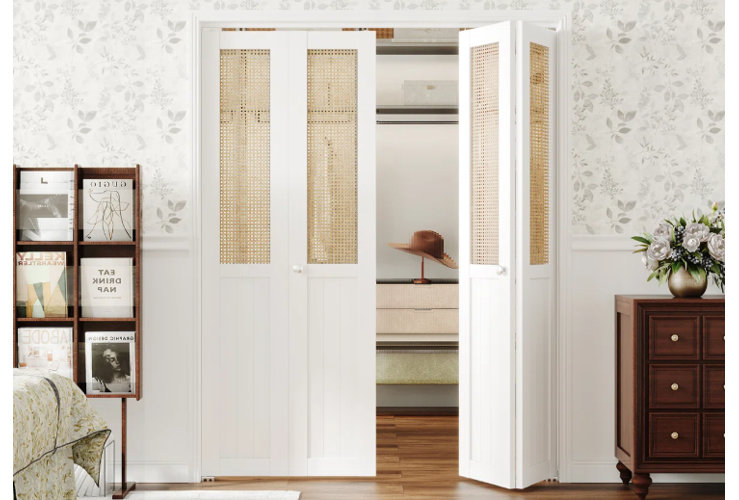
Bi-fold doors fold in the middle and pivot on small pins, and replacing them is simple once you understand how the track and pivot hardware work.
What You'll Need
- Screwdriver
- Bi-fold door set
- Upper track
- Hacksaw
- Metal file
- Pivot hardware and brackets
- Lower jamb brackets
- Screws (typically included)
How to Remove Bi-Fold Doors
Step 1: Pull the door panels inward so they fold. When folded, you’ll be able to see the small metal pin and roller at the top corner of the door.
Step 2: Use a screwdriver to loosen the screws holding the top pivot and top roller in the track.
Step 3: Lift the door upward to release the top hardware, then pull the bottom gently toward you to remove it from the frame.
Step 4: Repeat for the second panel (if your closet has two sets).
Step 5: Unscrew the old upper track from the door frame using a screwdriver, then pull it down and remove it. Wipe away any dust or debris in the opening.
How to Install Bi-Fold Doors
- Step 1: Measure the opening to confirm your new bi-fold doors will fit.
- Step 2: Cut the upper track to size using a hacksaw. Leave about a 1/16-inch gap on each end so it easily fits into the frame.
- Step 3: Hold the upper track in place and mark where the screws will go. Drill small pilot holes where you marked, then put the track back up and screw it into the frame.
- Step 4: Install the lower jamb brackets on each side of the opening. Then, hold and lower pivots in place.
- Step 5: Insert the top and bottom pivot pins into the pre-drilled holes at the edges of each door panel.
- Step 6: Lift the door and snap the top pivot into the upper bracket, then guide the bottom pivot into the lower bracket.
- Step 7: Adjust the door height or swing using the bottom pivot screw until the panels open and close smoothly.
Hinged closet doors swing on hinge plates, and replacing them is a simple process once you remove the old hinge pins and position the new door at the right height.
What You'll Need
- Nail or punch
- Hammer
- Flat-head screwdriver (or standard screwdriver)
- Pry bar (optional, for heavier doors)
- Replacement hinged door(s)
- Hinges
- Screws
- Screwdriver or drill
- Wedge or shims
How to Remove Hinged Doors
- Step 1: Close and latch the door so it stays steady while you remove it.
- Step 2: Place a nail at the bottom of each hinge pin and tap upward with a hammer until the pin pops loose.
- Step 3: Pull the hinge pins out by hand or with a flat-head screwdriver.
- Step 4: Lift the door straight up and off the hinges. If the door is heavy, slide a pry bar under the bottom edge to help support its weight as you lift.
How to Install Hinged Doors
- Step 1: Measure the height, width, and thickness of your opening to confirm the correct door size and hinge size.
- Step 2: Mark where the hinges will attach to the door, typically 5 inches down from the top and 10 inches up from the bottom.
- Step 3: Screw the hinges onto the door at the marked spots.
- Step 4: Place a wedge or shims on the floor under the opening to hold the door at the correct height. Set the door on top of them so it’s aligned with the frame.
- Step 5: Attach the hinges to the door frame by inserting and tightening the screws, starting with the top hinge to hold the door in place.
- Step 6: Tighten all screws, then open and close the door to ensure it swings smoothly. Adjust the hinge screws if the door rubs or sits unevenly.
