How to Use an Offset Smoker
Master the art of smoking.
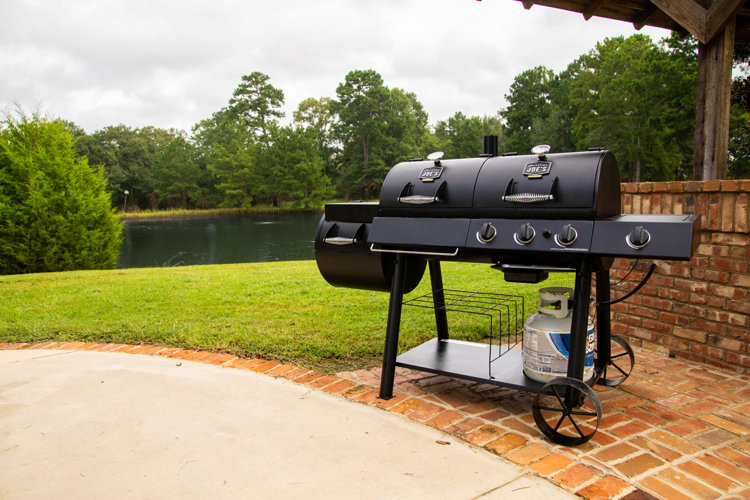
If you're a barbecue enthusiast who loves the rich, smoky flavor of slow-cooked food, an offset smoker is a must-have tool for your backyard cooking arsenal. Not sure how to use an offset smoker? Don't worry, we've got you covered. This guide will provide you with step-by-step instructions on how to use an offset smoker and what items you should have on hand to ensure a successful smoking session.
Before You Begin
What Is an Offset Smoker?
An offset smoker is a type of barbecue smoker that consists of two chambers: a firebox and a cooking chamber. The firebox is attached to the side of the cooking chamber, allowing smoke and heat to flow into the main cooking area. Be sure to read What Is an Offset Smoker? if you want more in-depth information about what an offset smoker is and how it works.
What You Will Need
Before we dive into the process, here's a list of items you'll need:
- Offset smoker
- Charcoal
- Hardwood chunks or chips
- Fire starters
- Thermometer
- Meat of choice
- BBQ tools (tongs, brush, etc.)
- Heat-resistant gloves
- Aluminum foil
- Water pan
Step-by-Step Instructions: How to Use an Offset Smoker
Are you ready to smoke? Let's get started.
Step 1: Season Your Smoker
If your offset smoker is brand new, you'll need to "season" it before using it for the first time. Seasoning removes any oil, dust, or other residues from the manufacturing process and helps to create a protective layer that prevents rusting. To season your smoker, coat the interior surfaces with a high-heat cooking oil (like canola or vegetable oil), then heat the smoker to about 275 – 300°F for 2 – 3 hours. Allow it to cool down completely before proceeding to the next step.
Step 2: Preheat Your Smoker
Start by filling the firebox with charcoal and lighting it up. Once the charcoal is lit and starts to turn white, add a few hardwood chunks or chips. The hardwood adds a delicious smoky flavor to your meat. Close the lid of the firebox and open the vents. Preheat the smoker to the desired temperature — usually between 225°F and 250°F for most meats. Use the built-in thermometer to monitor the temperature.
Step 3: Prepare Your Meat
While your smoker is preheating, it's time to prepare your meat. Depending on your recipe, this could involve marinating, brining, or simply seasoning with your favorite BBQ rub. Remember, the secret to a great smoked dish is in the preparation.
Step 4: Place the Meat in the Smoker
Once your smoker reaches the desired temperature, place your meat on the cooking grates in the cooking chamber, away from the firebox. If you're smoking several pieces of meat, make sure they're evenly spaced to allow for proper air circulation.
Step 5: Maintain the Temperature
Maintaining a steady temperature is one of the most challenging aspects of using an offset smoker. You'll need to regularly add more charcoal and hardwood to keep the fire going. Use the vents to control the temperature – opening them to increase the temperature and closing them to decrease it. For accurate readings, consider using a digital meat thermometer.
Step 6: Check the Meat
The time it takes to smoke your meat will depend on the type of meat and its size. As a general rule, it's best to check the meat after a few hours. Use a meat thermometer to ensure it's cooked to the correct internal temperature.
Step 7: Let the Meat Rest
Once your meat is smoked to perfection, remove it from the smoker and let it rest for at least 15 – 20 minutes before slicing. This allows the juices to redistribute throughout the meat, resulting in a juicier, more flavorful dish.
Learning how to use an offset smoker may seem intimidating at first, but with a little practice and patience, you'll be smoking like a pro in no time. So go ahead, roll up your sleeves, gather your supplies, and get ready for a smoking adventure that will tantalize your taste buds and impress your family and friends.
