How to Install Recessed Lighting: Tools, Steps, & Safety Tips
Install your new lighting with this easy-to-follow guide.
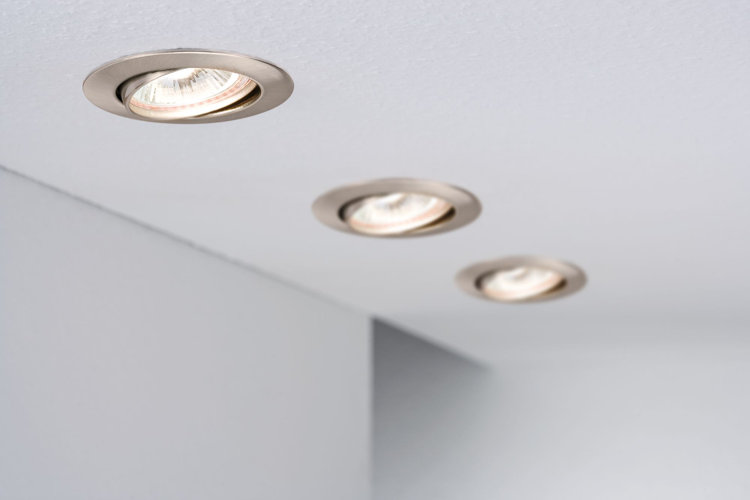
If you’re looking to spruce up your home with modern lighting, recessed lighting is an excellent choice.Installing recessed lighting involves turning off power, planning fixture locations, cutting ceiling openings, wiring and securing the housings, then installing the trim and testing the lights.Always verify electrical safety and follow your local building codes. Read on to learn how to install recessed lighting for a bright new look.
How to Install Recessed Lighting
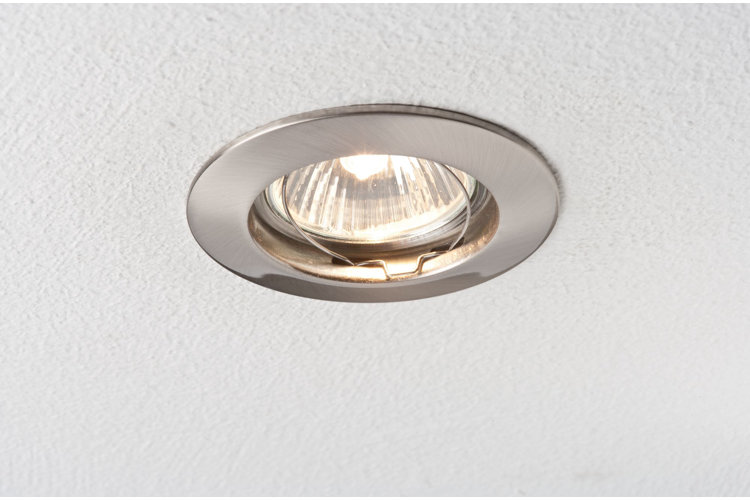
What You’ll Need
- Recessed light fixtures
- Cans or housings for the light fixtures
- Trims for the light fixtures
- Electrical box extenders
- Dimmer switch (optional)
- Wire connectors
- Drill
- Level
- Saw
- Wire strippers
- Safety glasses
Once you’ve gathered all of the necessary materials and tools, you can begin the installation process. The following steps will guide you through the process.
Before You Start
Before installing recessed lighting, take a few minutes to plan your project and work safely.
- Turn off power at the circuit breaker before working with any electrical wiring. Use a non-contact voltage tester to confirm the circuit is de-energized.
- Verify that your recessed lighting is compatible with your ceiling type and insulation (IC-rated fixtures are required when fixtures will contact insulation).
- Locate ceiling joists, plumbing, ductwork, and electrical wiring before cutting into the ceiling.
- Review your local electrical codes and obtain permits if required. If you're uncomfortable working with household wiring, hire a licensed electrician.
1. Determine where you want to install the recessed lights.
It is important to note that recessed lights should not be installed in high-moisture areas, such as bathrooms and kitchens. You should also avoid installing them near fireplaces and other heat sources.
Neighborly Tip!
If you really want recessed lighting in your bathroom, Wayfair has a selection of recessed shower lighting.
2. Mark the location of the electrical box on the ceiling with a pencil.
The electrical box should be located in the center of the area where you want to install the recessed lights. If there is an existing light fixture in that spot, you’ll need to remove it first.
3. Use a drill to make a hole in the ceiling where you marked the electrical box.
The hole should be large enough for the electrical box extender to fit through it.
4. Place the electrical box extender over the hole in the ceiling.
Use screws to attach it to the ceiling joists. Make sure that it is level before continuing with the installation process.
5. Cut a piece of wire that is long enough to reach from the electrical box to each light fixture.
Strip about 1/2 inch of insulation from each end of the wire using wire strippers. Connect one end of each wire to a connector. Twist on a connector cap. Repeat this process for each wire.
6. Connect one end of each wire connector to each terminal on the light fixture.
Make sure that each wire is connected properly before continuing with installation. If there are any wires that are not connected, tighten them by turning them clockwise.
7. Install trim rings around each light fixture.
Place the rings over top of each fixture and twist them into place. Be sure that they are facing inwards so that they cover up all of the screws on the outside edge.
8. Turn off power at the circuit breaker.
Remove the old light switch cover plate and remove the old switch from the wall and connect wires according to the diagram on the switch packaging (or consult with an electrician). Reattach the switch plate and turn power back on at the breaker panel.
9. Test your new recessed lights.
Test your lights by flipping on your dimmer switch (if applicable).
In conclusion, recessed lighting is a great way to add style to your home while also providing even light distribution and the illusion of extra space. When installing recessed lighting, it is important to purchase the right type of bulb and to follow the instructions carefully.
Understanding Recessed Lighting Wiring
Most recessed lights are wired in parallel, meaning each fixture receives power independently. This allows every light to operate at full brightness, and if one fixture fails, the others will continue working.
Each fixture is connected using three wires:
- Black (Hot): Carries electrical power from the switch to the fixture.
- White (Neutral): Returns electricity to complete the circuit.
- Bare Copper or Green (Ground): Provides a safe path for electrical faults and helps reduce the risk of shock.
Before making any wire connections, turn off power at the circuit breaker and confirm the circuit is de-energized with a non-contact voltage tester. Secure all wire connections with approved wire connectors, and always follow the manufacturer's instructions and local electrical codes.
Neighborly Tip!
If you're replacing an existing fixture or are experienced with basic electrical work, installing recessed lighting may be a manageable DIY project. However, if you're adding a new circuit, working with unfamiliar wiring, or aren't comfortable with electrical work, it's safest to hire a licensed electrician.
Frequently Asked Questions
Can you install recessed lighting without attic access?
Yes. Many remodel or "old work" recessed light fixtures are designed to be installed from below the ceiling, making them a good option for homes without attic access.
How far apart should recessed lights be?
A common guideline is to space recessed lights about 4 to 6 feet apart in rooms with standard 8-foot ceilings. Exact spacing depends on the room size, ceiling height, and whether the lights are being used for ambient, task, or accent lighting.
Can recessed lights be installed in insulated ceilings?
Yes, but you'll need IC-rated (Insulation Contact) recessed light fixtures. These fixtures are designed to safely come into contact with insulation without creating a fire hazard.
Can I replace recessed light bulbs with LED bulbs?
Yes. Most existing recessed fixtures can be upgraded with compatible LED bulbs or integrated LED retrofit kits. LEDs use less energy, produce less heat, and typically last much longer than incandescent bulbs.
Neighborly Tip!
Check out these guides for additional guidance while installing your recessed lighting:
