How to Install Over-the-Range Microwaves
Make your microwave move with these easy installation instructions.
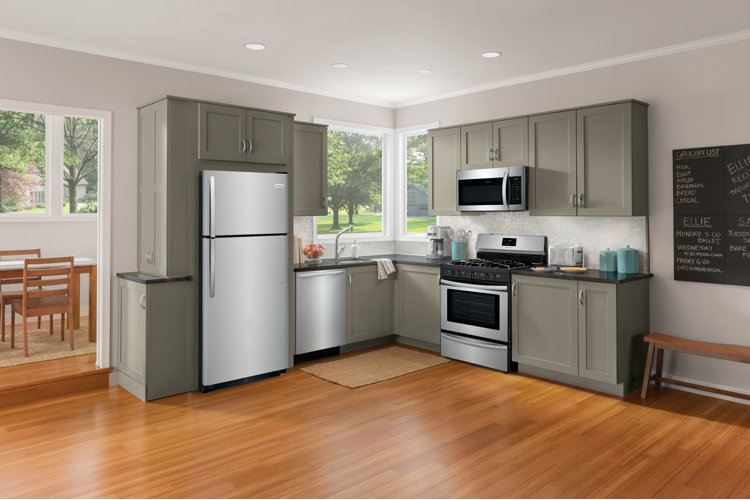
An over-the-range microwave frees up counter space and provides convenient lighting and ventilation for your range. It also gives your kitchen a cleaner, more professionally designed look. If you're ready to install one in your kitchen, here's a tutorial about how to install an over-the-range microwave.
Pick the Right Over-the-Range Microwave
It's important to purchase the right over-the-range microwave for your kitchen. If you are replacing an existing one, you can simply measure it and use those measurements to purchase a new model.
If you are about to install an over-the-range microwave for the first time, carefully measure the space before purchasing one. Typically, over-the-range microwaves are installed in a space above your range that has an overhanging cabinet and cabinets on either side. You'll need to carefully measure this space in your kitchen to purchase the right size microwave. Most over-the-range microwaves are designed to fit into a 30" wide space, but it's wise to measure your space to be sure.
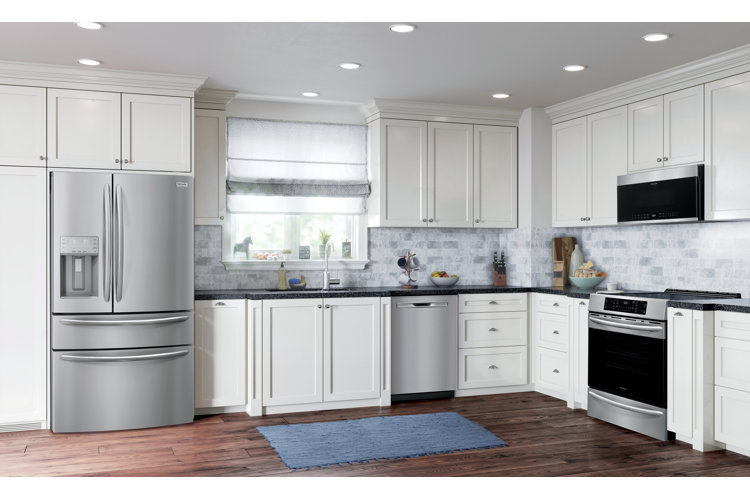
It's not difficult to install an over-the-range microwave, but you'll need to do some prep work first.
Read the Manufacturer's Instructions
Carefully read the manufacturer's instructions included with your over-the-range microwave. These should include diagrams and detailed instructions for how to install an over the range microwave. The instructions should also include a paper template you will use to install your microwave.
Test Your Over the Range Microwave
It doesn't happen often, but sometimes appliances can be damaged or faulty and you don't want to spend several hours installing an over-the-range microwave that doesn't work. It's smart to plug in the microwave and make sure it works properly before proceeding.
Grab a Friend
You will need another person to help you hold the over-the-range microwave in place while you secure it. You will only need them for a few minutes, but you will definitely need some assistance when you install an over-the-range microwave.
Locate the Nearest Electrical Outlet
Locate the electrical outlet you'll be plugging your microwave into. If there's not one conveniently located, you will need to wire a new outlet. If you aren't comfortable wiring a new outlet, you'll need to hire an electrician to wire it for you.
Figure Out the Venting
Over-the-range microwaves provide venting for your range so you will need to hook up the venting when you install your microwave. Typically, over-the-range microwaves are vented one of two ways: through a vertical duct that vents air upward and outside or a horizontal vent that blows air through ducts in the adjacent wall. How your existing ductwork is set up will determine which way you will vent your microwave. It's important for you to figure out exactly how your venting will connect before you start the installation.
Gather Your Tools
You'll also need some basic tools to install an over-the-range microwave. These include:
- Tape measure
- Masking tape
- Screwdriver and bits
- Stud finder
- Jigsaw
- Level
- Tin snips
- Metal tape
How to Install an Over-the-Range Microwave
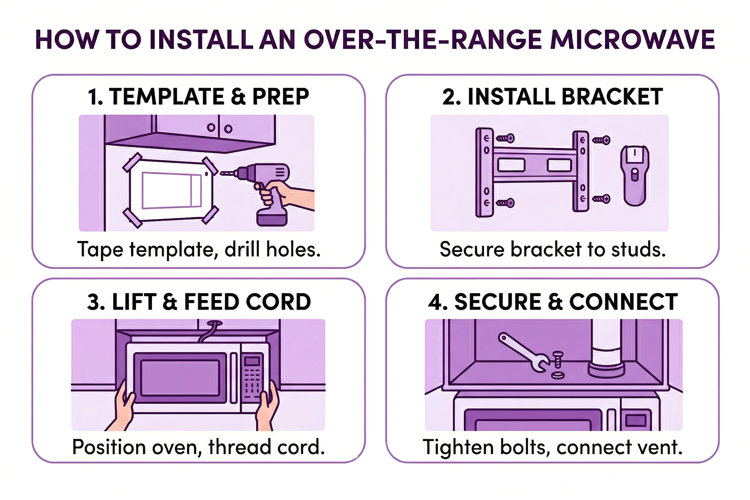
Now, you're ready to install your over-the-range microwave.
Step 1: Locate the paper template or templates included with your over the range microwave and tape it to the wall and overhanging cabinet as instructed.
Step 2: Once the template is in place, you'll see where to drill holes for the power cord and screws that will attach the metal hanging bracket to the wall. It's important to drill at least some of the holes for the mounting bracket into a stud to secure your microwave. Use your stud finder to locate studs. You might also need to drill holes in the bottom of the upper cabinet for top-mounting bolts. The locations for these holes will also be on the template. Once you have determined the exact location for each hole based on the template, drill the holes.
Step 3: The template will also show you where you need to cut an opening for the vent. This will depend on how your current ductwork is set up. Use your jigsaw to cut the opening based on the template.
Step 4:After drilling the holes and cutting the vent opening, remove the template and attach the wall mount bracket as shown in the manufacturer's instructions, again making sure at least a few of the screws holding the mounting bracket are attached to studs.
Step 5: Configure your ductwork through the opening you cut so it's ready to be connected to your microwave. If you have to use any elbows or adapters to prepare the ductwork for connection, make sure you only use metal parts and not plastic.
Step 6: With the help of your friend, position the over the range microwave in the space and feed the electrical cord through the hole you drilled. Pull the electrical cord through and align the microwave with the mounting bracket.
Step 7: After the microwave is in position, thread the mounting bolts that came with the microwave through the drilled holes and into the back and top of the oven. Use your level to make sure the microwave is level and tighten the mounting bolts.
Step 8: Connect the microwave's vent to the ductwork. Use tin snips to make sure the connection is secure and then seal the connection with metal tape.
Step 9: Test your microwave again to make sure it is working properly.
Now that you know how to install an over-the-range microwave, shop all the over-the-range microwave options Wayfair has to find the perfect microwave for your kitchen.
Written by Amy Wright
