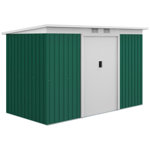
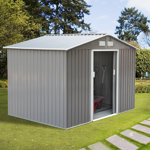
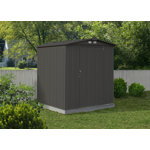
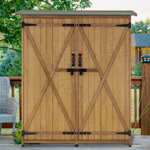
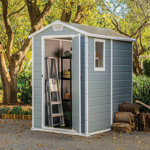
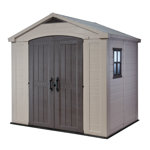
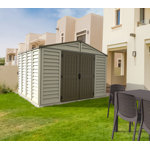
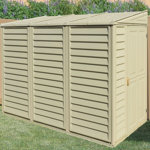
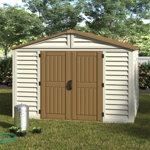
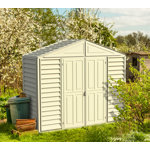
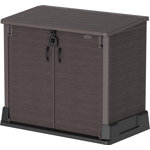
This is an attractive shed and easy to assemble. It was a one-man job for me.
I can’t tell you how long it took me to assemble; I received it on a Tuesday afternoon and waited for my next day off (following Sunday) to complete the project, coupled with emptying/moving an existing shed, and laying a new level foundation of pavers and sand afterward before I could begin. What I did do was assemble it in stages, beforehand, each evening after work. I’d put the floor together one evening, the roof the next, followed by the door and installing it in the front wall, then slapping the window in a wall panel. By the time Sunday came by and my foundation was complete, I had everything ready to go and it was really quick.
The delivery guys were awesome. Getting to choose a delivery date and a block of time was handy to make sure it arrived intact. It did.
Some notes here for folks reading this in advance of purchase like I did:
First, the specs here state the shed comes with stainless steel hardware. It doesn’t. Wayfair customer service told me it comes with galvanized hardware. It doesn’t. It comes with black-painted hardware. Since the floor assembly for this shed actually rests on the heads of the screws that hold the floor frame to the floor panel, I would strongly recommend you purchase some stainless steel lath screws for at least that portion of the assembly. Spending the money and the time on this shed, make that extra small investment to see that it lasts.
Second, I wish I had thought of this in time, but all the panels of this shed are open cell poly resin. Assembled, it’s tough, but the floor concerns me over the long haul. If I could do it over, I would have laid the floor panel on a table and injected some “wide gap” expanding spray foam into each cell from both sides of the panel, then secured the frame, giving it a much more solid surface once cured. As it is, although tough, the floor is still a hollow piece of plastic, which limits how much weight it will hold, and don’t even think about putting any shelving unit inside that might have legs on it. The last thing you want is four legs collapsing the floor at those points under weight. As such, my plan is now to cut a sheet of plywood to lay over the floor to reinforce it, and more evenly distribute any weight I place upon it.
Third, speaking of foam, I found the need to add some inside at each of the four corners where wall met roof, and at the peak of both walls where they met the roof. There’s a gap at each peak that would allow the creaky crawlies in. It’s not big, but it’s open. The wall corners were nowhere near what I would call a gap, but light was still visible so I filled that for added protection.
Fourth, I glued some window screen to the inside walls to cover the air vents, likewise so the creepy crawlies wouldn’t take up residence.
One thing I didn’t see anyone note in their reviews, which surprised me, is the three rigid plastic inserts that get slid into the cells of the door. These get placed where both hinges and latch are mounted, to give the screws a solid material to bite into. Something was wrong here from the very beginning as far as how they get inserted and their placement. I mocked everything up and ran the screws into the door, then removed it all, only to find that the cell divisions prevent the inserts from going where they need to be, so not all the screws will hit them. My attempts to remove and alter the cell divisions to properly place the inserts were only partially successful because I couldn’t get deep enough into the door panel. The instructions for that entire step didn’t quite mesh with reality.
I’ve considered applying a white, elstomeric roof coating, such as what coats many RV roofs, to this shed roof. Even vented, it’s gets pretty warm inside, despite living on the coast. Changing the roof color from black to white may have a cooling affect. Hopefully, it will stick.
Anyway, those are my thought and experience. Make of them what you will. I’m happy with my shed and took no real issue with making minor tweaks to improve my satisfaction with it. People claiming it’s cheap or difficult to assemble are simply picky and lazy. Did you poke a hole in he wall because your drill slipped? It’s plastic. You goofed up and had a spinning drill bit impact thin plastic; what else was supposed to happen? Be careful, use light pressure and slow speed. This isn’t wood or metal you’re working, nor apparently common sense. The enclosed spatula is also a useful tool when seating the roof into the wall panels, which is probably the worst aspect of the assembly that may take ten minutes by yourself. I know, the horrors.