How to Plan and Install a Shower System
Turn your shower into an at-home spa in one afternoon with installation tips from the experts at GROHE.
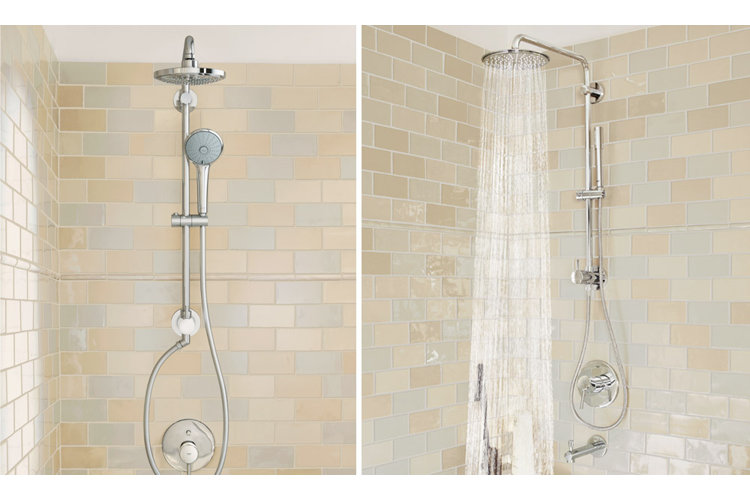
Photo: GROHE
Is your bathroom in need of a little TLC? Replace your old shower head with a brand new shower system. Options like the GROHE Retro-Fit™ transform an ordinary shower head into a luxurious spa-like shower system without needing to change or replace tiles. Customize you shower with a swivel shower arm, hand shower, body sprays, or a diverter to make the optimal experience you desire.
Materials
- Adjustable pliers
- Adjustable wrench
- Plumber’s tape
- Screwdrivers: Phillips-head and flat-head
- Screws and anchors
- Drill
- Rubber mallet
- Towel
- Drop cloth
- Shower head
- Hand shower (optional)
- Diverter (optional)
Note: Always follow the manufacturer’s instructions for installation. If you select a replacement model similar to the old shower head, installation will be the same as removal but in reverse.
Step 1: Consider Your Options
Hand showers offer multiple spray options such as rain, eco-friendly, and full-flow and can be installed on a sliding wall bar, the shower wall, or the shower head itself. This option requires the least amount of renovation and this update can be completed in an afternoon.
Body sprays or body jets create a full-on steam shower spa experience. However, adding these to your shower is a bigger project, requiring more reno work, so this project will take longer than a weekend afternoon to complete.
Step 2: Remove the Old Shower Head
If you are only replacing the shower head, there is no need to shut off the main water supply. Remove the old shower head by turning it counterclockwise by hand or with an adjustable wrench.
Step 3: Shut Off the Water Supply
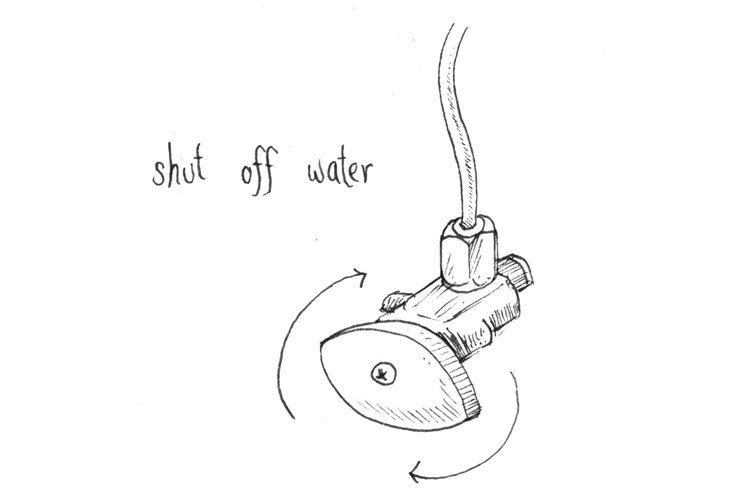
If you are replacing or adding additional features such as a hand shower, shower handles, or body sprays, you must turn off the main water supply. If you access city water, the water supply shut-off valve will be located by the water meter. Many homes have specific shut-off valves for various locations in the home (kitchen, laundry room, for each bathroom, etc.), be sure to use the correct valve. Close the valve by turning it counterclockwise.
Step 4: Clean the Spigot
Clean any excess sealing compound or thread seal tape from the threads of the spigot left behind by the former shower head.
Step 5: Add New Thread Tape
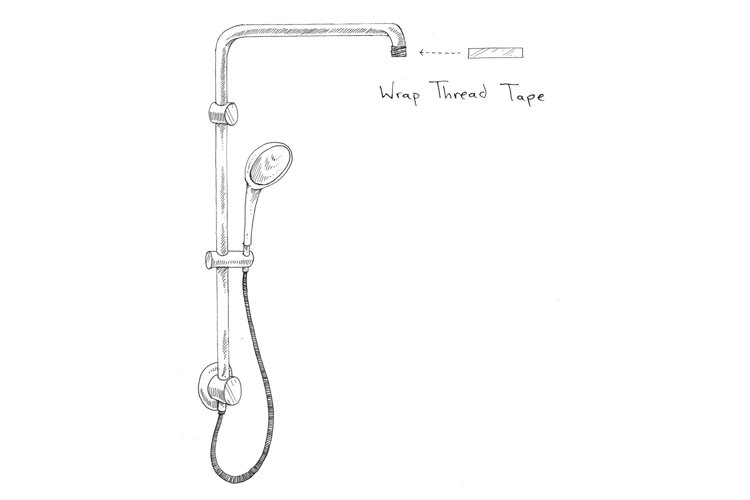
Add new thread seal tape, then screw on the new shower head until it is tight. Or if you are adding a diverter and hand shower, screw these components onto the spigot before screwing the new shower head on. Then, attach the shower hose and the new shower head to the diverter.
Step 6: Install Additional Parts
If you will be cutting through walls or tile to add a new component (handles or hand shower), cover the tub or shower floor with a drop cloth. It will be easier to clean up the mess and will help keep a fallen tool or debris from scratching or denting your tile.
If you're adding a wall-mounted hand shower or diverter, select a spot to add the holder. Consider the most appropriate height for who will be using the shower. A hand shower or nozzle too high or too low will make showering difficult.
Remove the bracket cover, then mark the location with a pencil. Using the proper drill bit for the shower material, drill holes a quarter of an inch into the shower wall. Insert anchors and tap into place with a rubber mallet.
Step 7: Attach Additional Features
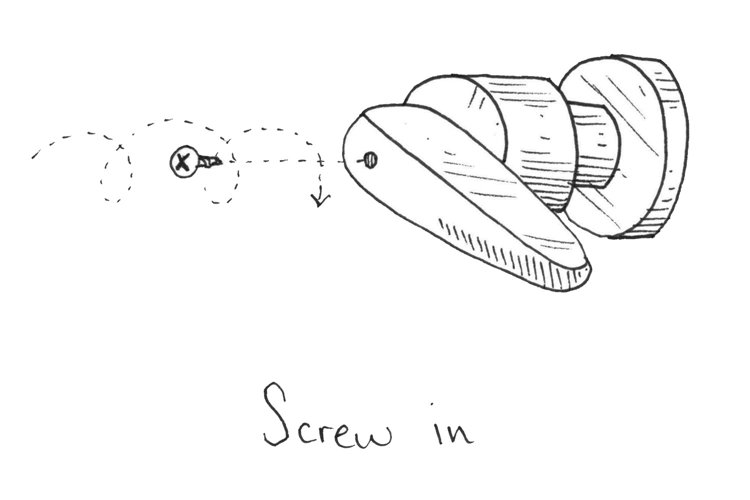
Screw the wall brackets into place, then slide the covers on. Finally, turn the water back on and test for leaks. Have towels nearby just in case. If you have a leak, unscrew attachments and add more plumber’s tape.
