Learn How to Can With Our Complete Canning Guide
Preserve food like a pro with these canning techniques.
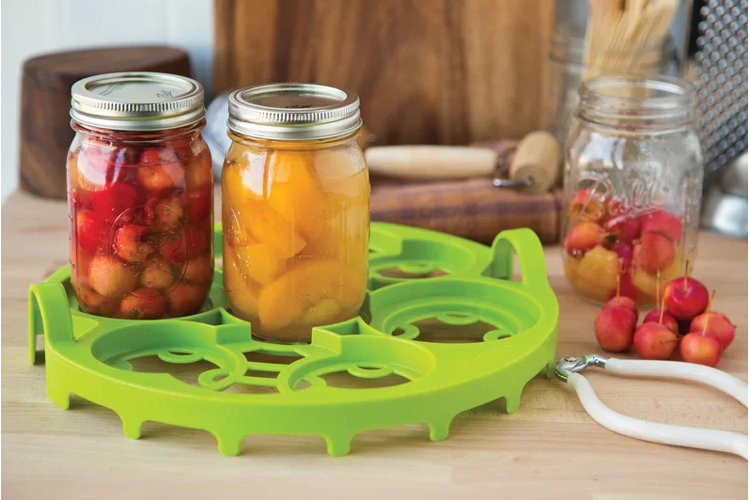
Preserving and canning foods has been a part of domestic life for almost 200 years, but canning offers a range of benefits for today's generation of busy families and anyone who likes to plan ahead. Preserving food is not only ideal for having food on hand during emergencies like power outages, but is a cost-effective, practical way of using your quality ingredients in the future.
Common canning recipes include pickles and relishes, jams, and jellies but this only scratches the surface of what you can preserve. Almost all fruits, vegetables, beans, and soups can be preserved, as well as sauces, juices, baby food, salsas, and even meats. Even if you don't preserve or can enough food to make a large stockpile, you can at least have a few items on hand when you crave something homemade but are limited with time. Plus homemade preserved goodies make fantastic gifts.
While the thought of learning how to can may seem daunting, truthfully it is a fairly straightforward process almost anyone can learn. It takes very little to get started and when the process is finished, you'll be one step ahead for future meal planning or gift giving for at least one year.
In this guide:
Canning Supplies You Will Need
How to Can: Step-by-Step Instructions
Frequently Asked Questions
Canning Supplies You Will Need
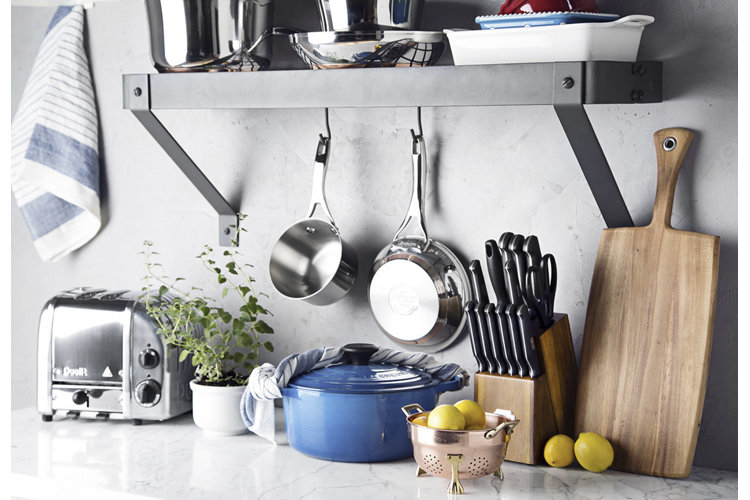
There are several supplies needed for proper canning, but most of these you likely already have on hand. Some foods, such as meats or foods with a low acid content, will use a pressure cooker method instead of boiling water. Most preserving recipes will guide you with the appropriate method needed. The following tools are recommended for the boiling water method of preserving food.
Tools
- Tongs or Jar Lifter: A good pair of kitchen tongs lifts the canning lids out of the boiling water when you are sterilizing them or handling the hot food you need to place inside the jar. A jar lifter can pick up a jar of almost any shape or size.
- Wide-Mouth Funnel: A wide-mouth funnel that fits on top of your canning jars will make it easier to pour your ingredients into the jar without the spills or messes.
- Measuring Cups & Spoons: You will need a variety of measuring tools, depending on the recipe. Use glass measuring cups for hot liquid ingredients and measuring scoops for dry foods.
- Canning Pot, Dutch Oven, or Large Heavy-Duty Pot:A canning pot provides the space you need for boiling the jars, but a large pot or Dutch oven will suffice, as long as you can cover your jars with an inch of water.
- Glass Jars: Glass jars with self-sealing lids are necessary (the exact amount and size depends on the recipe). Invest in new canning jars with a vacuum-seal, which is usually a two-piece lid and ring. Do not re-use vintage jars or old food jars, such as store-bought pickles or mayonnaise.
- Kitchen Towels:These are useful for placing clean jars on or handling the hot jars.
- Baking Sheet and Cooling Rack: These two items give you a dedicated space to place your hot jars and allow them to dry off.
Ingredients
The ingredients needed depends on the recipe you choose. Try to work with the freshest foods possible, such as in-season fruits and vegetables. Avoid using foods with bruises or mold and stay away from frozen or defrosted foods.
How to Can: Step-by-Step Instructions
To get started, the best approach is to start with one recipe. Focusing on one fruit or vegetable makes it easier to shop and plan and get the hang of the canning process before committing to an entire pantry full of staples.
It's important to note food safety is key with canning. By following all the steps and using the exact amount of ingredients listed (including the large amount of sugar often used), you reduce the chances of introducing harmful enzymes or bacteria to the food. If you follow the steps for forming a tight seal, then you can keep air and microorganisms out of the jars.
For the ultimate food safety, be sure to follow all steps in order and in one continuous process:
Step 1: Select and wash the fresh food for your recipe, peeling the food if necessary. Set aside.
Step 2: Prepare the jars for sterilization. Place clean jars in the pot and cover with at least an inch of water. You can use a canning rack or line the bottom of the pot with a kitchen towel to keep the jars from banging. Cover and bring water to a boil. Boil for 10 minutes.
Step 3: Remove the jars with tongs and place on a kitchen towel or cooling rack to dry. You can also leave the sterilized jars in the pot with simmering water until you are ready to fill it with the hot food.
Step 4: Repeat this same sterilization process for the lids and rings, boiling for 10 minutes.
Step 5: Follow your recipe instructions for preparing the hot food to add to the hot, sterilized jars.
Step 6: Once your hot food is prepared, ladle or pour it into each of the hot, clean jars. Follow the recipe instructions for how much room, or headspace, you will leave at the top of the jar between the top of the lid and the food. Work quickly to fill all the jars while the food and jars remain hot and keep your pot full of simmering water during this time.
Step 7: Place the lid and ring on each of the jars full of food, following the jar manufacturer's instructions for testing the jar seal. You should simply need to screw the lid just until you feel the tightness.
Step 8: Carefully place each sealed jar upright into the pot of simmering water. You can add more water if necessary to cover it at least an inch. Bring water to a boil again and boil for the amount of time indicated in your recipe.
Step 9: Once the time is reached, carefully remove the jars with the tongs or jar lifter and place on a kitchen towel. The packed, sterilized jars need to sit undisturbed for 12 to 24 hours. Do not try to adjust or tighten the rings, simply let them sit.
Step 10: Once the 12 to 24 hours is complete, you can test to see if you have a proper seal by pressing on the top of the lid. If the lid doesn't move, then success! If the lid does move this means it is not sealed and you need to consume the contents within a week.
Frequently Asked Questions
What foods can be preserved through canning?
Almost all fruits, vegetables, beans, soups, sauces, juices, baby food, salsas, and meats can be preserved.
What is the first step in the canning process?
The first step is to select and wash the fresh food for your recipe.
How can you test if a jar is properly sealed?
Press on the lid; if it doesn't move, the jar is properly sealed.
Written by Sara Coleman
