How to Repot a Cactus
Give your prickly friend a new home.
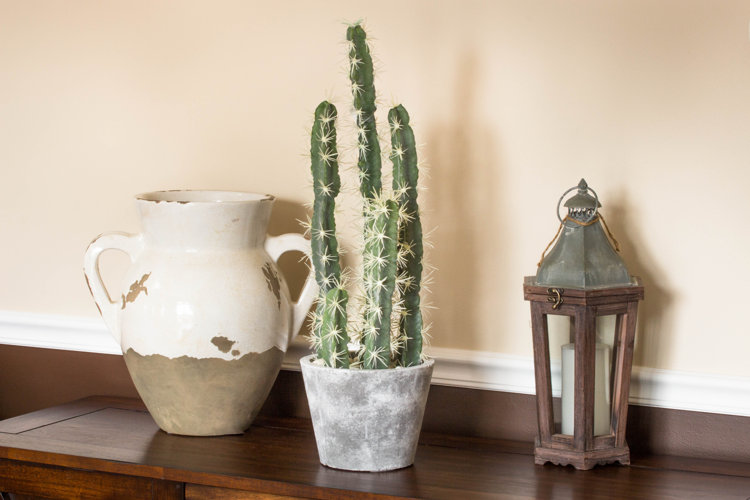
Repotting a cactus is an essential aspect of its care – whether your cactus has outgrown its current pot or needs fresh soil, repotting will help it thrive. However, repotting a cactus can be tricky – and prickly! – especially if you don't know what you're doing. In this article, we will provide step-by-step instructions on how to repot a cactus to ensure its successful growth.
Before You Begin
To repot your cactus, you will need the following items:
- New pot: Choose a pot that is slightly larger than the current one to accommodate the roots. A clay pot is an excellent choice for cacti as it provides good drainage and allows the soil to dry out quickly.
- Fresh cactus soil: Cactus soil should be well-draining and sandy. You can purchase ready-made cactus soil mix from a garden center, or you can make your own by mixing equal parts of sand, perlite, and potting soil.
- Gardening gloves:Some cacti have spines that can be painful or irritating to the skin, so it's essential to wear gardening gloves when handling them.
- Trowel: You will need a trowel or small shovel to remove the cactus from its current pot and to dig a hole for it in the new pot.
- Stake (optional): If the cactus is top-heavy, you may need to use a stake to support it until it establishes roots in the new pot.
- Scissors: You may need a pair of sharp, clean scissors to trim any damaged or dead roots before repotting the cactus.
Tip!
Unsure when to repot your cactus? Check out our guide on How You Know When to Repot a Plant for what to look for.
How to Repot a Cactus
Step 1: Choose the Best Pot for Your Cactus
The first step to repotting your cactus is to choose the right pot. A cactus needs a pot that provides adequate drainage and space for growth. The pot should also be slightly larger than the current one to accommodate any root growth. Clay pots are an excellent choice for cacti as they provide good drainage and allow the soil to dry out quickly.
Step 2: Prepare the New Pot
The next step is to prepare the new pot. Fill the pot with fresh cactus soil until it is about two-thirds full. Make sure the soil is loose and free from any clumps. Leave enough room at the top of the pot to accommodate the cactus.
Step 3: Remove the Cactus from the Old Pot
Put on your gardening gloves and carefully remove the cactus from its current pot. Gently loosen the soil around the roots with your fingers or a trowel. Once the soil is loose, tilt the pot on its side and gently tap the bottom to loosen the cactus. If the cactus is stuck, run a knife around the edge of the pot to loosen it.
Step 4: Inspect the Roots
Once you have removed the cactus from the pot, inspect the roots. Look for any damaged or dead roots and trim them with a sharp, clean pair of scissors – cactus root pruning is essential for the health of the plant. If the cactus has long, healthy roots, you may need to trim them to fit into the new pot.
Step 5: Place the Cactus in the New Pot
Gently place the cactus in the new pot, making sure it sits upright. If the cactus is top-heavy, use a stake to support it. Fill the pot with fresh soil, making sure to cover the roots completely. Lightly press the soil down around the cactus to secure it in place.
Tip!
Do not water the cactus for a few days after repotting to allow the roots to settle.
Step 6: Place the Cactus in a Suitable Location
Finally, place the repotted cactus in a suitable location – cacti thrive in bright, indirect light, so place the pot near a window that receives plenty of sunlight. Make sure the cactus is protected from direct sunlight, as it can cause the plant to scorch.
Learning how to repot a cactus may seem daunting, but it is a simple process that can help your plant thrive. With the right pot, fresh soil, and a little bit of care, your cactus will be well on its way to healthy growth.
