How to Replace a Toilet Handle
Learn how to replace your toilet handle with these easy DIY instructions.
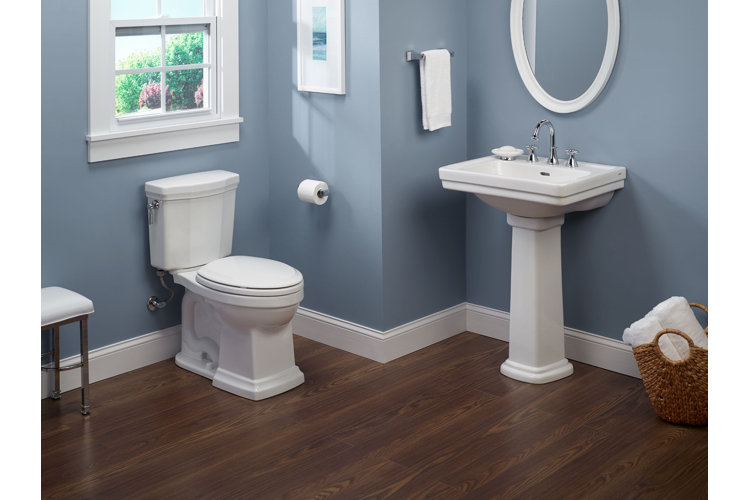
Replacing a toilet handle is a simple DIY project, even if you're not all that handy. It's also one way in which you can update the look of your toilet with a fresh and new design element that ties in with the overall look of your bathroom. Read on for tips on how to replace a toilet handle.
Before You Buy
Check the Old Handle
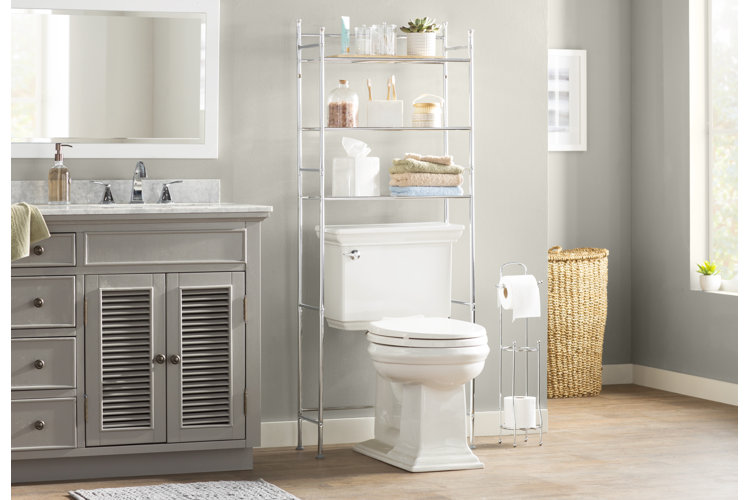
First things first: Check to see what kind of toilet handle you will need to replace. Does your toilet handle go on the front or the side (which side?) of your toilet tank? This important factor will determine whether you need to search for a front-mount, side-mount, or angle-mount toilet handle.
Types of toilet handles vary, from simple handles and trip levers to more high-tech push button versions. Most toilet handles should be able to fit, but be sure to get the right type for your toilet.
When picking out your toilet handle replacement, consider if you want to buy a totally different style and finish, or go with the same vibe of your previous one. There are many styles and finishes to choose from these days, from nickel and polished chrome to oil-rubbed bronze, black, and more, so settle on the choice that works best for your aesthetic.
Now that you've selected your shiny and new toilet handle, you're ready to install it. Follow these steps below to replace your toilet handle.
Step 1: Remove the Lid
Take off the toilet tank lid and then set it aside in a safe place (on top of a towel is a good idea) to protect it from falling or breaking.
Step 2: Disconnect the Chain
Inside your toilet tank, there will be a lift arm attached to the toilet handle. Unhook the toilet chain from the lift arm that connects it to the flapper. Pay attention to which loop the chain clasp was hooked into for future reference when putting everything back together with the new handle.
Step 3: Remove the Existing Handle
Next, loosen the nut for the current toilet handle from the inside of the toilet. Be careful to note whether the nut turns left or right first. On most toilets, they turn left. If you tighten it in the wrong direction, you could possibly crack the toilet. Once you remove the nut, you can slide the arm through the hole in the toilet tank and then remove the handle.
Step 4: Attach the New Handle
Before installing the new toilet handle, you may opt to clean the area around the hole for the previous toilet handle, which may have rust or mildew.
- Take your new toilet handle and remove its O-ring and nut.
- Stick the new handle's lift arm through the toilet tank hole.
- Then, slide the rubber washer onto the lift arm and the nut.
- Tighten the nut using a wrench, but avoid over-tightening.
Step 5: Attach the Chain
Next, attach the chain to the new lift arm at the same loop where the old lift arm was.
Step 6: Do a Test Flush
Check to see how the new toilet handle flushes. If it's too short or too long, it will not drain properly and adjustments will need to be made. If it works with no problems, then you're all set and you can put the lid back on the toilet tank.
With your new toilet handle installed, your toilet should be looking and running beautifully. These tips on how to replace a toilet handle can help you get started, and our selection of bathroom fixtures can inspire your next home improvement project.
Written by Margie Monin
Ready to Shop? Check These Out!
