How to Install a Fence
Your guide to DIY fence installation.
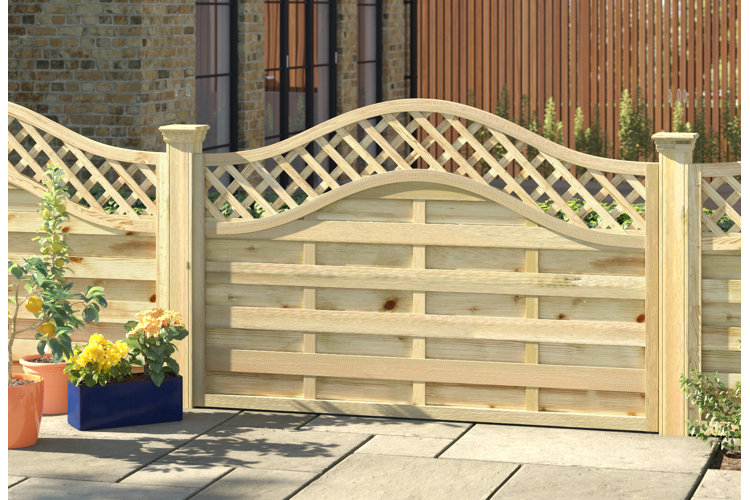
Installing a fence around your property is a great way to add privacy, security, and value to your home. A well-built fence can also enhance the aesthetic appeal of your outdoor space. Whether you are looking to install a new fence or replace an old one, the process can seem daunting if you are not familiar with the steps involved. In this article, we will provide you with a step-by-step guide on how to install a fence.
In this guide:
Before You Begin
How to Install a Fence
Frequently Asked Questions
Before You Begin
To install a fence, you will need several tools and materials. Here is a list of items you may need:
- Fence panels - the number of panels will depend on the length of your fence
- Fence posts - the number of posts will depend on the length of your fence and the spacing between them
- Concrete mix
- Gravel or crushed stone
- Level
- Post hole digger or auger
- String or chalk line
- Spray paint
- Screws or nails
- Gate hardware (if installing a gate)
- Fence brackets (if attaching fence panels to posts)
- Fence caps (optional)
- Paint or stain (if desired)
- Decorative elements (if desired)
- Shovel or spade
- Safety equipment such as gloves, safety glasses, and ear protection.
Step 1: Determine the Type of Fence You Want
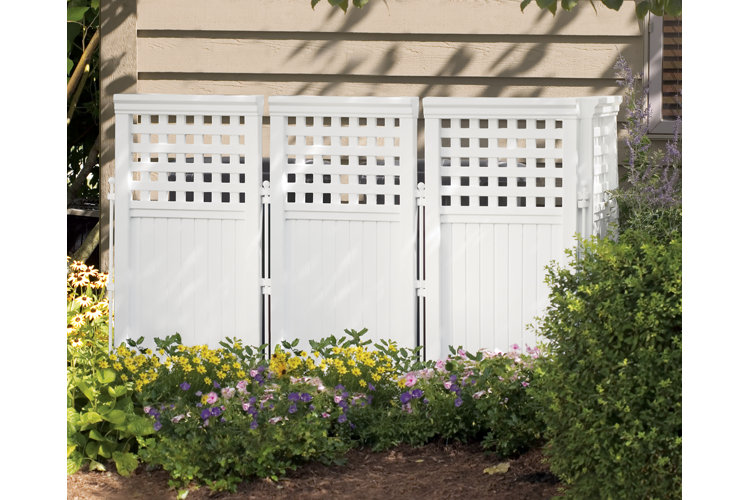
Before you begin the installation process, you must first decide on the type of fence you want to install. There are many different types of fences, including wood, vinyl, chain link, aluminum, and wrought iron. Each type of fence has its own advantages and disadvantages, so it is important to research and choose the one that best fits your needs and budget. To learn more, check out our guide about types of fences.
Step 2: Obtain Necessary Permits
Before you begin the installation process, it is important to check with your local building department to determine if you need any fence installation permits. The requirements for permits vary depending on your location, so make sure to check with your local authorities to avoid any legal issues down the road.
Step 3: Check Property Lines & Other Restrictions
Before installing a fence, it's important to know exactly where your property lines are located. This will help you avoid any disputes with your neighbors and ensure that your fence is installed entirely on your property!
You should also follow any setback requirements, which refer to the distance that your fence must be installed from the property line. These requirements may vary depending on your location and the type of fence you want to install. In some cases, you may need to install your fence a certain distance from the street or sidewalk as well.
Another consideration is that many cities and homeowner's associations have height restrictions on fences. These restrictions are in place to ensure that your fence does not obstruct views or create safety hazards. Check with your local government or homeowner's association to find out what the height restrictions are in your area before your fence installation.
Tip!
It's always a good idea to communicate with your neighbors before installing a fence to help you avoid any disputes and ensure that your fence does not negatively impact their property or views. Let your neighbors know about your plans and discuss any concerns they may have.
Step 4: Mark the Fence Line
Once you have decided on the type of fence you want to install and obtained any necessary permits, the next step is to mark the fence line. You can use string, chalk, or spray paint to mark the desired location of the fence – make sure to be careful that your lines are straight.
Step 5: Dig Post Holes
The next step in the installation process is to dig the post holes. The depth and width of the holes will depend on the type of fence you are installing and the size of the posts. As a general rule, the holes should be at least one-third the height of the fence post and dug at least six inches wider than the diameter of the post. Once your first hole is dug, measure the length of your fence panel to determine the location of the next hole and repeat the process.
Tip!
If you are unable to dig holes for your fence, check out our selection of no-dig fencing.
Step 6: Fence Post Installation
After you have dug the post holes, it is time to install the posts. Begin by placing a few inches of gravel or crushed stone at the bottom of each hole to provide drainage. Next, place the post in the hole and use a level to ensure that it is plumb. Grab another person, or use scrap two-by-fours to brace the post in place in the hole. Fill the hole with concrete, making sure to leave about three inches of space at the top of the hole for soil. Once the concrete has set (if using quick-dry concrete, usually within 20–40 minutes), you can attach the rails to the posts.
Step 7: Attach Rails & Panels
With the posts in place, it is time to attach the rails and panels. If you are installing a wood fence, begin by attaching the rails to the posts. Next, attach the fence panels to the rails using screws or nails. If you are installing a vinyl fence, the panels will typically snap into place on the rails. Follow the manufacturer's instructions for your selected type of fence.
Step 8: Install the Gate (Optional)
If you are installing a gate, you will need to install posts for the gate as well. The post installation process is the same as above, but posts for the gate should be set a few inches deeper into the ground than the other posts to provide extra support. Once the gate posts are in place, you can attach the gate hardware using nails and screws.
After you have installed the fence, it is time to add the finishing touches. This can include painting or staining the fence, adding decorative elements, or planting shrubs or flowers around the perimeter of the fence.
Frequently Asked Questions
What tools do I need to install a fence?
You'll need a post hole digger, level, string or chalk line, shovel, screws or nails, and safety equipment.
How do I ensure my fence is on my property?
Check your property lines and follow any setback requirements before marking the fence line.
What should I do before digging post holes?
Mark the fence line and measure the distance between post holes based on fence panel length.
