Thompson's® WaterSeal®: How to Stain Your Deck
Learn how to clean and stain your deck from trusted experts.
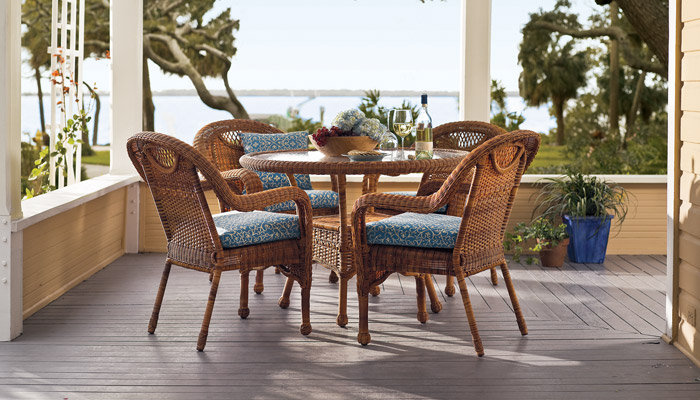
Photo: Thompson's® WaterSeal®
Before you can enjoy months of outdoor entertaining, you need to prep your outdoor space for the wear and tear it will receive. If you have a wood deck, that means you'll want to clean and stain your deck so it looks its best and is protected from the elements. Read on to learn how to tackle this project.
Step 1: Assess Your Deck
Take a look at your deck to see what kind of shape it is in. This will help you determine your next steps. Is it gray with dirt and mildew? Is your old coating worn or peeling? Do a thorough check to see if any boards are rotting or badly cracked and need replacing.
Do the Splash Test
If you're unsure whether or not your deck is protected from water damage, simply splash some water on a few boards. If it is rapidly absorbed instead of dripping off, your deck isn't protected. You'll want to clean and seal it to prevent the boards from rotting.
Take Measurements
Measure the length and width of your deck and multiply those two numbers together to get your deck's square footage. Knowing the square footage will help you determine how many gallons of deck stain to purchase. Consider the extra features of your deck, such as railings, steps, or built-in benches, and include them in your measurements as you'll need extra stain.
- Tip!
Pick a Stain and Cleaner
There are different deck cleaner formulas you can choose from based on the condition of your deck. Keep in mind the type of wood your deck is made of—you'll want to pick a cleaner that won't dull the natural color.
Also, consider whether you'd like to stain your deck railings or extra features in a contrasting color. You can also create a pattern with deck stain for a unique look.
The stain color you choose is based on personal choice, but an easy way to help make this decision is by selecting a color that complements the paint color of your house. If your home is light, pick a darker shade ofdeck stain for contrast.
Step 2: Round Up Tools and Products
Before you start, gather everything you'll need to complete your deck staining project. Here are some items you'll need for each part of the process.
For cleaning:
- Plastic drop cloth
- Plastic gloves and goggles
- Pump-up garden sprayer
- 3-in-1 deck cleaner
- Stiff-bristled deck broom
- Pole extension
- Garden hose with nozzle
- Rags
For staining:
- Painters' tape
- Deck painting pad
- Paint brush
- Paint pan
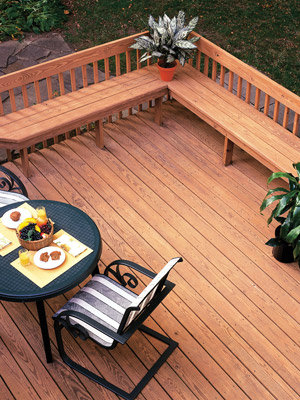
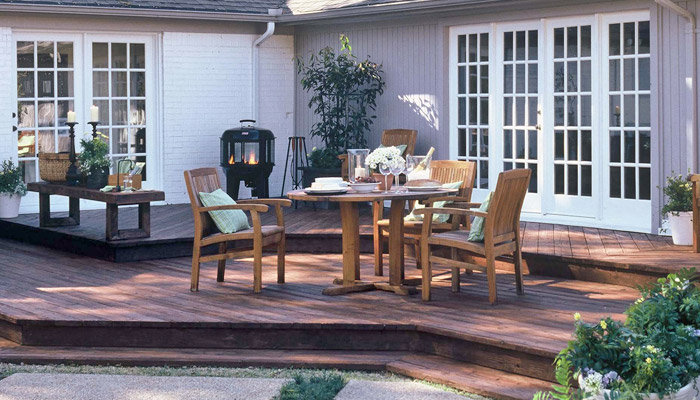
Photo: Thompson's® WaterSeal®
Choosing a Deck Cleaner and Stain
If your deck has a layer of dirt and stains from mildew but no coating, a general purpose cleaner like Thompson's® WaterSeal® 3 in 1™ Wood Cleaner will work on any wood.
If there's an old peeling coating on your deck, there are two options: Thompson's® WaterSeal® Heavy Duty Deck Cleaner (will remove anything but solid deck stain) or Thompson's® WaterSeal® Maximum Strength Deck Stripper (the strongest option and will remove any coating). Thompson's® WaterSeal® Deck Cleaner and Brightener will restore wood's natural color.
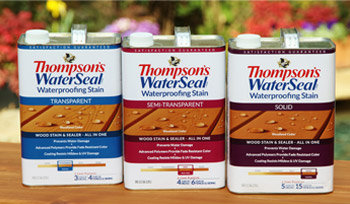
Photo: Thompson's® WaterSeal®
Step 3: Clean the Deck
Applying the new deck stain to a clean surface ensures good penetration, so you don't have premature wear and peeling.
Prep the Space
To start, water any plants or bushes near the deck. Then cover with plastic drop cloths so the deck cleaner won't affect the plants. Remove all furniture, outdoor rugs, and planters from the deck.
Applying the Cleaner
Most deck cleaners can be applied with a pump-up sprayer. Pour your cleaner into the sprayer and pump until the pressure is built up. Be sure to read and follow the package instructions for your individual cleaner. Note: A deck stripper must be applied with a watering can, not a pump-up sprayer.
For deck cleaners and strippers, start working in a small area, about 50 to 70 square feet. Don't try to do it all at once. But complete the whole deck before moving on.
Lightly Scrub
Wait 10 to 15 minutes, then begin lightly scrubbing the boards, working in sections to cover the whole deck. You don't have to scrub hard, but be thorough because a well-cleaned deck makes staining easier. When each section is done, rinse well before moving on. Here's a good time to have someone else's help. One person can start at each end and work their way to the middle. Be sure to clean railings and other features as you go.
Using a Deck Stripper
There may be an additional step when using a deck stripper. The alkaline base of a deck stripper can darken the natural color of some woods, so you many need to neutralize it with Thompson's® WaterSeal® 3 in 1™ Wood Cleaner. This will bring the wood back to its natural look. Apply as you would a cleaner: lightly scrub and rinse well.
Check Your Work
Wait several hours for the deck to dry, then check for any missed spots. Clean those spots, if necessary. This is also a good time to reset any screws or nails that have popped up during the cleaning process. Remove drop cloths from over the plants, give them another watering, and clean all of your tools.
Photo: Thompson's® WaterSeal®
Step 4: Stain the Deck
Get ready to see the real progress! Get these steps for applying deck stain with ease.
Read the Label
Read the directions on your stain before beginning. The label will give you weather guidelines: recommended temperature for application, avoiding windy and rainy days.
Check the recommended waiting time between deck cleaning and staining on the label, as well. Thompson's® WaterSeal® Waterproofing Stains can be applied to damp wood, so you only need to wait approximately two hours before applying the stain. However, some other products require that the wood dry for about 48 hours before applying a deck coating.
Photo: Thompson's® WaterSeal®
Prep the Wood
Put painter's tape along the areas where the deck meets the house to avoid staining your siding or brick.Test the stain in an inconspicuous corner of the deck to ensure you like the finished color. Start with railings first, as you won't be able to walk on the deck for a few hours after it's stained.
Apply the Stain
Dip the paint pad into the stain and squeeze out the excess by pressing it against the top edge of the pan. Start applying the stain to a few boards at once and don't put it on too thick. A single, thin coat is ideal.
Work in small areas before moving on to keep the leading edge of your stain wet, avoiding lap marks when the stain dries. It's okay to go back over your work and catch missed spots to ensure the stain is worked into the wood.
If your deck boards are far apart and you are worried about stain getting in between them, take a paint brush and smooth out any stain that goes down the sides. Also, if the bottom of your deck is accessible, apply a thin coat of stain to it. Staining all exposed wood gives your deck the max protection.
Don't be surprised if it takes less time to stain than to clean. Add more stain where it's needed and keep moving down the deck. One coat is enough, but if you want a richer color, apply a second coat within two hours of the first coat, before it has dried.
Clean your tools with soap and water and let the deck dry for at least 24 hours before replacing furniture.
- Tip!
Article Sponsored By: Thompson's® WaterSeal®
