How to Install Drawer Slides: A Step-by-Step Guide
Enjoy a more functional and organized space.
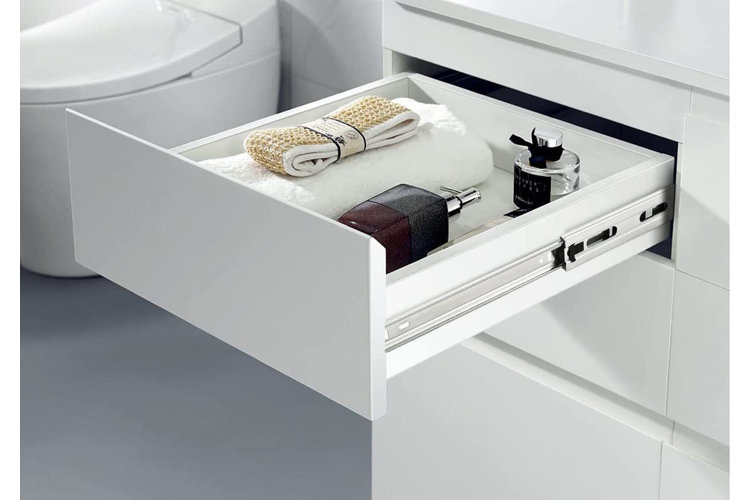
Installing new drawer slides can be a quick and easy way to update your furniture while also improving its functionality. Whether you're installing new slides for the first time or replacing old, worn-out ones, this guide will provide you with a step-by-step process to ensure a smooth installation.
In this guide:
Types of Drawer Slides
How to Install Drawer Slides
Tips for Installing Drawer Slides
Frequently Asked Questions
Types of Drawer Slides
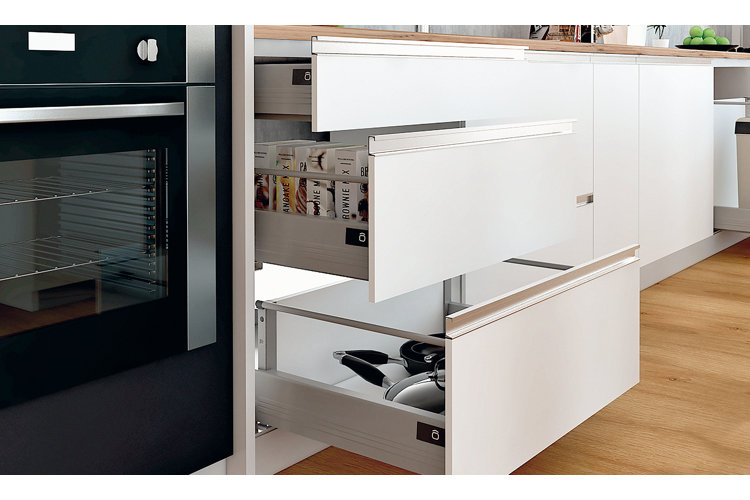
Before we dive into installation, let's take a look at the two main types of drawer slides:
Side-Mount Drawer Slides: These slides are attached to the sides of the drawer and cabinet. They are the most common type of drawer slides and are available in a variety of weight capacities and lengths.
Bottom-Mount Drawer Slides: These slides are attached to the bottom of the drawer and the inside of the cabinet. They are not visible when the drawer is closed and offer a clean, modern look.
Before You Begin
Before you begin installing the drawer slides, here are some items you will need:
- Drawer slides
- Drill
- Screws
- Measuring tape
- Pencil
- Level
- Screwdriver
How to Install Drawer Slides
Step 1: Remove the old slides.
If you're replacing old slides, remove them from both the drawer and the cabinet. Use a screwdriver to remove any screws holding the slides in place.
Step 2: Measure the drawer.
Use a measuring tape to measure the length and width of the drawer. This will help you choose the correct size of the new slides.
Step 3: Choose the right slides.
Choose the drawer slides based on the weight capacity and length required for your drawer. Make sure to choose the same type of slide as the original.
Step 4: Install the cabinet-mounted slide.
Attach the cabinet-mounted slide to the inside of the cabinet using screws and a drill. Make sure the slide is level and flush with the front of the cabinet.
Step 5: Install the drawer-mounted slide.
Attach the drawer-mounted slide to the underside of the drawer using screws and a drill. Make sure the slide is level and flush with the front of the drawer.
Step 6: Test the drawer.
After both slides are installed, place the drawer into the cabinet and test it for smooth operation. Adjust the slides if necessary until the drawer moves smoothly and evenly.
Step 7: Repeat for additional drawers.
If you are installing slides on multiple drawers, repeat steps 1–6 on each one.
Tips for Installing Drawer Slides
- Always use the same type of slides as the original for the best fit and function.
- Use a level to ensure the slides are installed straight and level.
- Make sure the slides are flush with the front of the cabinet and drawer for smooth operation.
- Test the drawer before finishing installation to prevent any issues from arising later on.
Learning how to install drawer slides can be an easy and affordable way to upgrade your furniture while also improving its functionality. By following these step-by-step instructions and tips, you can easily install new drawer slides on your own. Remember to choose the correct type of slide, measure carefully, and test the drawer for smooth operation before finishing the installation. With your new drawer slides in place, you'll be able to enjoy a more functional and organized space.
Frequently Asked Questions
What tools are needed to install drawer slides?
You need a drill, screws, measuring tape, pencil, level, and screwdriver.
How do I ensure the drawer slides are level?
Use a level to check and adjust the slides so they are straight and flush with the front.
What should I do after installing drawer slides?
Test the drawer for smooth operation and adjust the slides if necessary.
