DIY Marquee Light
Follow this simple DIY to learn how to make your own marquee light.
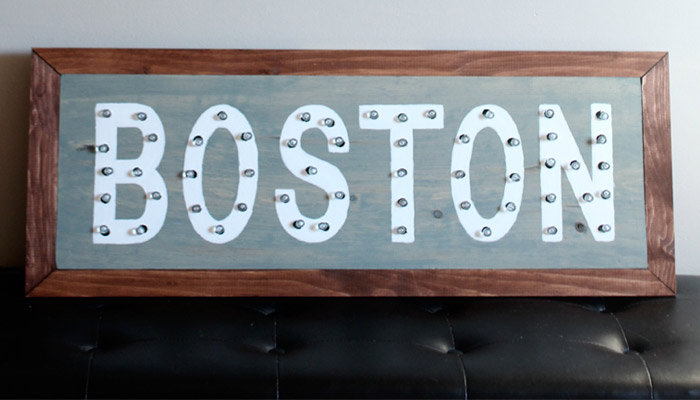
Photo: Stephanie Marchetti
Marquee lights have been popping up all over the place lately, and while they may look super intimidating to DIY they absolutely are not. In fact, they're the perfect project for someone who wants to test the water with woodworking and power tools.
What You'll Need:
- 1 by 8 foot pine board and 1 by 2 board cut to size (you can have the hardware store cut them if you're not comfortable with a jigsaw or miter saw yet
- 1 box of string lights (tip: buy Christmas or outdoor lights at the end of the season for a super discount!)
- Letter templates
- Pencil
- Level
- Wood glue or kreg jig
- StainPaint
- Sandpaper
- Painter's tape
- Power drill and spade bit
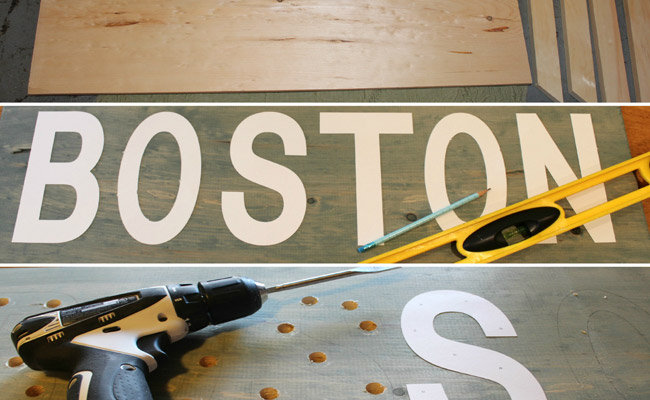
Photo: Stephanie Marchetti
Once your wood has been cut to size, lightly sand all your edges. Then paint or stain your boards. I chose to do the frame in a dark brown and the sign in blue. (You're not attaching anything yet.)
When the stain is dry, use your templates to lightly trace the letters onto your board. A level is helpful here. You can either print and cut your letters on computer paper or use a template cutting machine and some construction paper. Once you've got your template traced, it's time to handpaint them on the board. I used a small, cheap painter's brush for this. This is the most time consuming part of the project.
Once your paint is dry you're going to drill the holes for your lights. I found it super helpful to mark on my templates where I wanted the holes to be, then copy that guide. Be sure you don't make more holes than you have lights, and that you space them close enough so your lights reach from one hole to the next. You're going to want to use a spade bit that's slightly larger than the size of your lights and then drill away! It's really easy, and actually kind of fun. You may have to do some sanding once all your holes are drilled.
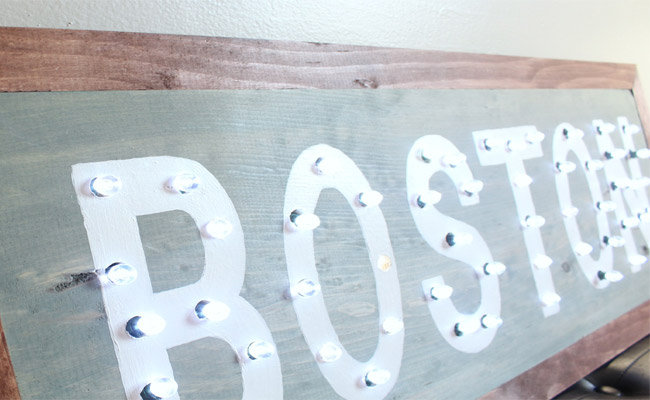
Photo: Stephanie Marchetti
After all your holes are drilled, pop in your lights! I just used painter's tape to secure them in place on the back so that if the string of lights dies out, it can be easily replaced.
To attach the frame, use either wood glue and clamps, or a kreg jig to make pocket holes then screw them together. If you've had your wood cut at a store it won't be mitered (which is the angled corners), but either way just know that your wood isn't perfect—it could be warped or uneven so as you can see the 1 by 2 line up perfect with the 1 by 8s, but the corners are just slightly uneven. That's okay! Plug it in and enjoy.
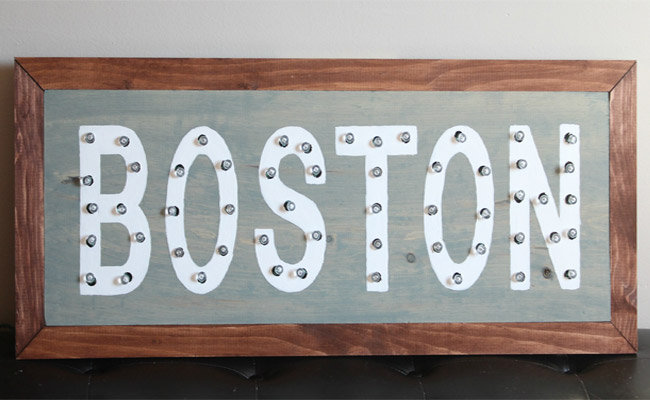
Photo: Stephanie Marchetti
This is such a versatile project! You can do it for a holiday, a child's name or initials to make a nightlight... the possibilities are endless!
