DIY Glitter Snowball Garland
Make an easy Christmas garland that will bring winter wonder to your tree.
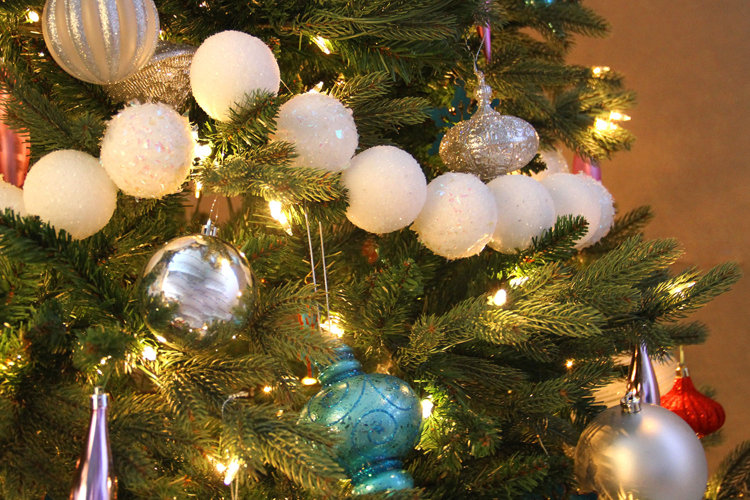
Around the holidays, we welcome new traditions and celebrate the old ones. From recipes to DIYs, these are activities that families and friends can do together—which is what the holidays are all about! This year, our editors came up with some stunning new Christmas tree decorating ideas. One of our favorite ways to decorate is with this beautiful garland, which looked outstanding on the National Tree Co.'s Winchester Pine, a 7.5 foot artificial tree which looks and feels like a real tree.
This gorgeous garland is inexpensive, simple to make, and will last for years. Follow our easy steps to bring these charming snowballs to your Christmas tree.
Tip! Before starting this project, cover your workspace with newspaper to minimize the mess; glue, glitter, and Styrofoam are much easier to clean up this way!
Supplies
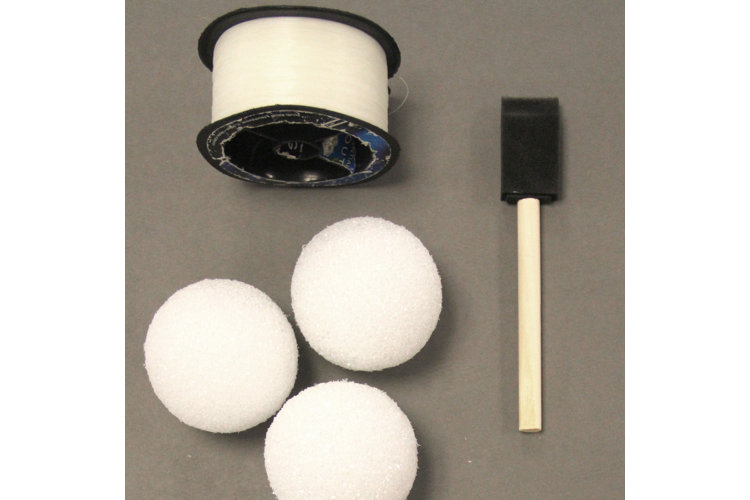
- 80-100 2-inch Styrofoam balls
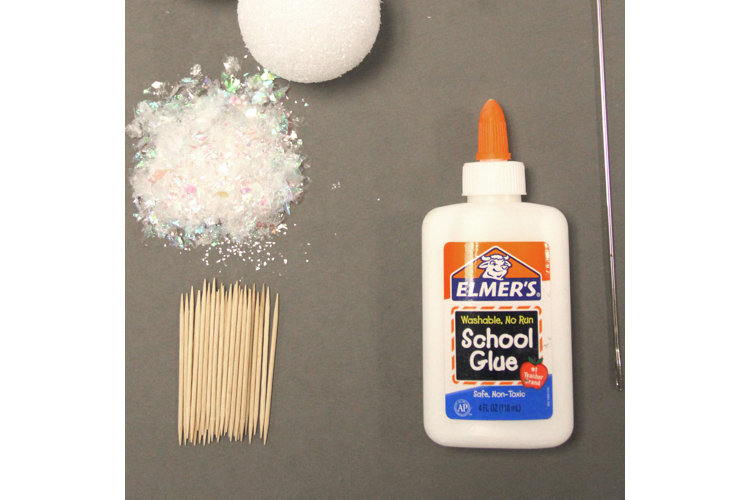
- White glitter, 8 ounces (Optional: We alternated between micro and faux snow glitter)
- White glue, 8 ounces
- Foam brush
- Toothpicks
- Upholstery needle
- Fishing line
- Large styrofoam block (for drying)
- Scissors
- Two disposable bowls
- Eight paperclips
Tip! Choose the bumpy Styrofoam instead of the smooth variety. The glue and glitter will stick better to texture
Instructions
1) Pour the entire bottle of glue into one of the bowls, and pour the glitter into the other.
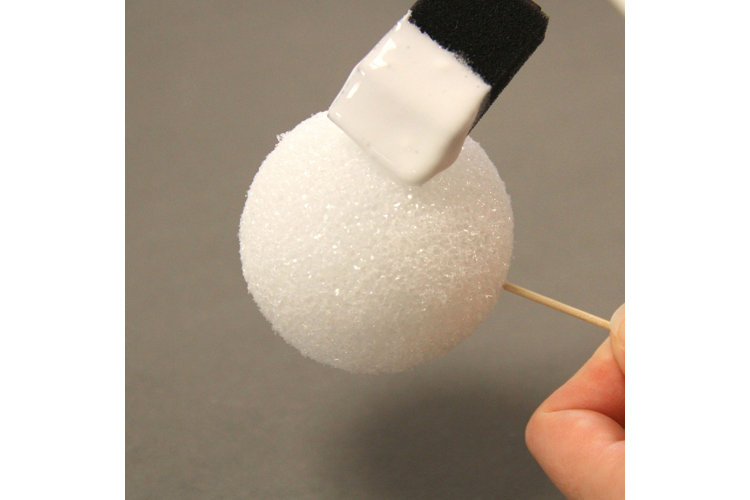
2) Stick one Styrofoam ball with a toothpick, this will give you something to hold onto and will help when drying. Hold the Styrofoam ball by the toothpick over the bowl with the glue. Use the foam brush to dab glue onto the ball.
3) When the ball is mostly covered by the glue, transfer to the bowl with the glitter. Using your fingers, pinch some glitter and sprinkle it over the ball. Hold the ball over the bowl while sprinkling. You can also try rolling the ball in the glitter.
Tip! Always use caution when crafting with glitter and upholstery needles. Glitter is often made of glass and upholstery needles are very sharp.
4) After the ball is covered with glue and glitter, poke the other end of the toothpick into the Styrofoam sheet to dry. Repeat this process of adding glue and sprinkling glitter to each Styrofoam ball. Allow to dry overnight.
5) Once the "snowballs" are dry, you can remove the toothpicks. We stored them in a bag so that it was easy to grab each one when we were ready to thread them onto the fishing line.
6) Cut the fishing line into two 5-foot long pieces, and two 3-foot long pieces. Tie knots at one end of each fishing line onto paper clips.
Tip! Instead of one long strand, make the garland in smaller batches. The "snowballs" can end up being quite heavy with the added glue and glitter, which may be too much weight for branches if wrapped all the way around the tree in one long chain.
7) Thread the fishing line through theupholstery needle eye. Poke the needle through the Styrofoam balls, one at a time. There should be some slack at the end of the fishing line, so that the "snowballs" can fall a little on the tree branches. Repeat this process for the other three fishing lines.
8) There should be four garland chains total; two 5 foot long pieces and two 3 foot long pieces. The longer chains go on the bottom half of the tree, and the shorter ones will be placed on the top half of the tree.
Tip! When using garland on your Christmas tree, it is helpful to first decorate and drape the garland on the tree before styling with ornaments and the tree topper.
9) After the Christmas lights have been placed and checked, drape the snowball garland on the Christmas tree. Finally, arrange your ornaments.
