DIY 101: How to Paint a Deck
Give your deck a complete transformation!
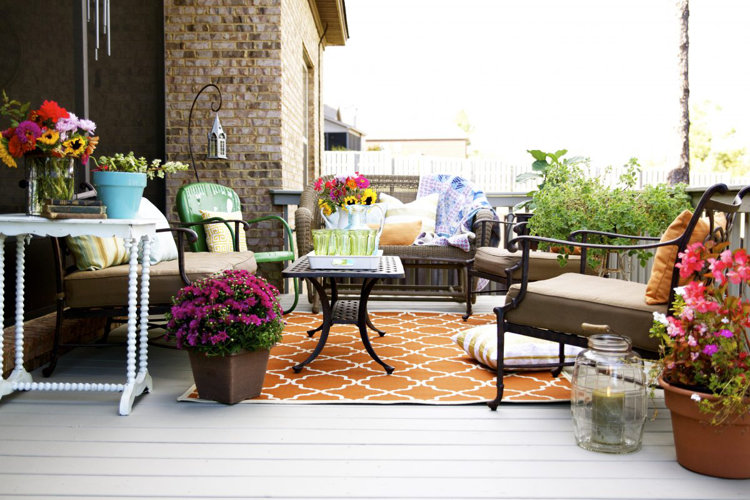
'Tis the season for all things backyard makeovers, and painting (or staining) a deck is the fastest way to get an immediate return on your home's value. Not only is it a great exterior facelift for a home, but it also encourages gatherings for some much-overdue warm-weather fun on the deck. Bye, splinters; hello, barefoot relaxation. Here are the best tips for painting (or staining) a deck.
How to Paint a Deck
Gather Your Supplies
The key to a well-painted deck is gathering supplies before even getting started. There are no shortcuts when it comes to a great new finish. The sample deck seen above was an easy weekend project, completed in just a couple of afternoons. This is good old-fashioned hard work with a major return
What You'll Need
- Blower
- Pressure washer
- Sandpaper
- Wood filler
- Drop cloths
- Painter's tape
- Paint Brushes/rollers/trays
- Deck paint (or deck stain) – this will be the key to a great makeover.
Use DeckCorrect by Cabot to give your deck a fresh new look. By filling in splintered areas, bad spots, and more, this special deck paint will give old wood a new lease on life. So be sure to purchase that type of deck paint at your local home-improvement store.
Prep the Space
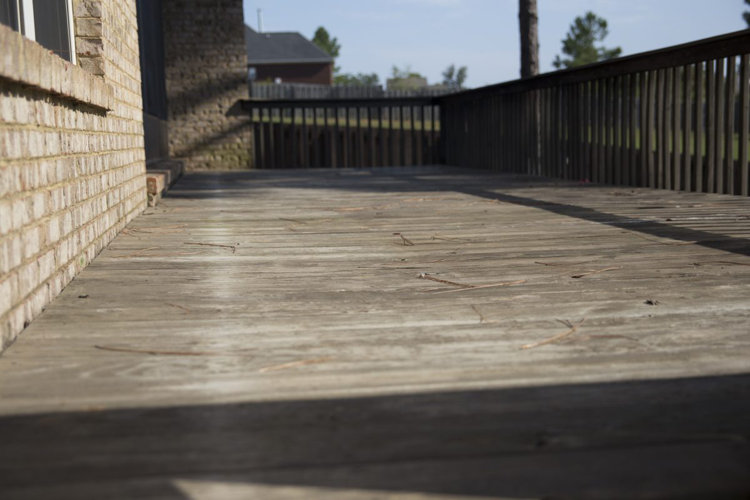
Blow it off:
Make sure the deck is clear and free of any tree debris. This will make painting your deck so much easier. Sweeping is an option too, but getting rid of dirt, pine needles, leaves, and more is always wise.
Pressure-wash:
If the deck in question is in need of a good pressure washing, it's probably a good place to start when it comes to refreshing that wood. It's essential to get rid of dirt that has settled into the grooves. A smooth surface will ensure easier painting.
Fill it in:
When it's dry, go back and fill in any splintered or peeling areas on your deck with wood filler. Use sandpaper to sand down any rough areas on the deck. Repair any old banisters and creaky steps to make sure your deck is prepped and ready for deck paint or stain. Sand down the wood filler, and blow it off one last time before breaking out that deck paint.
All that's needed for this step is just a few trays, a roller, and brushes. When painting (or staining) your deck, at least two coats of deck paint (or stain) are recommended for optimal finish. Be sure to read the manufacturer's instructions to see if a primer is recommended. If you are looking to skip the deck paint, opt for stain instead. Be sure to read the manufacturer's recommendations on the back of the stain for staining instructions.
Finish It Off & Gather
Once your deck paint (or stain) is dry, it's time for the fun part: styling! Decorate the exterior of your deck with outdoor string lights for a cozy ambience. Bring in accessories such as outdoor coffee tables, potted plants, or a few candles to give your deck a polished look. When choosing seating, select comfort and aesthetics. You are much more likely to spend time outdoors if you can relax in a laid-back style. Consider how you will use your deck, and choose the furniture that best suits your activities.
This is the perfect season for adding some interest to the home through a simple deck revamp. With this quick DIY deck painting project, a tired old spot receives a fresh look and your backyard deck becomes an inviting spot to gather and celebrate with loved ones.
Jamin and Ashley Mills are the design duo behind The Handmade Home design studio in Nashville. They help clients locally and nationally achieve realistic, attainable homes while living by their mantra of "we don't believe in the dream home we believe in your home." They've been recognized nationally by numerous TV and media outlets as well as named as two of the most creative people in the country by Country Living Magazine. Check out their designs and creations at thehandmadehome.net as well as on Instagram, Pinterest, and Facebook.
